

What is CSF?
A firewall is like a security guard at the door of your server. It decides which visitors may come in. CSF is a free firewall tool for Linux servers. It blocks bad traffic, watches for hacking attempts and plugs into WHM. WHM is the admin panel for the whole server. cPanel is the panel for a single hosting account.
Ask Hostvento support if CSF is already on your plan, or if you should install it yourself.
Before you start
A wrong firewall rule can lock you out of your own server. Make sure you know how to reach the server another way, such as a console from your provider. Keep your own IP address handy so you can allow it.
Steps
- Log in to your server with SSH as root.
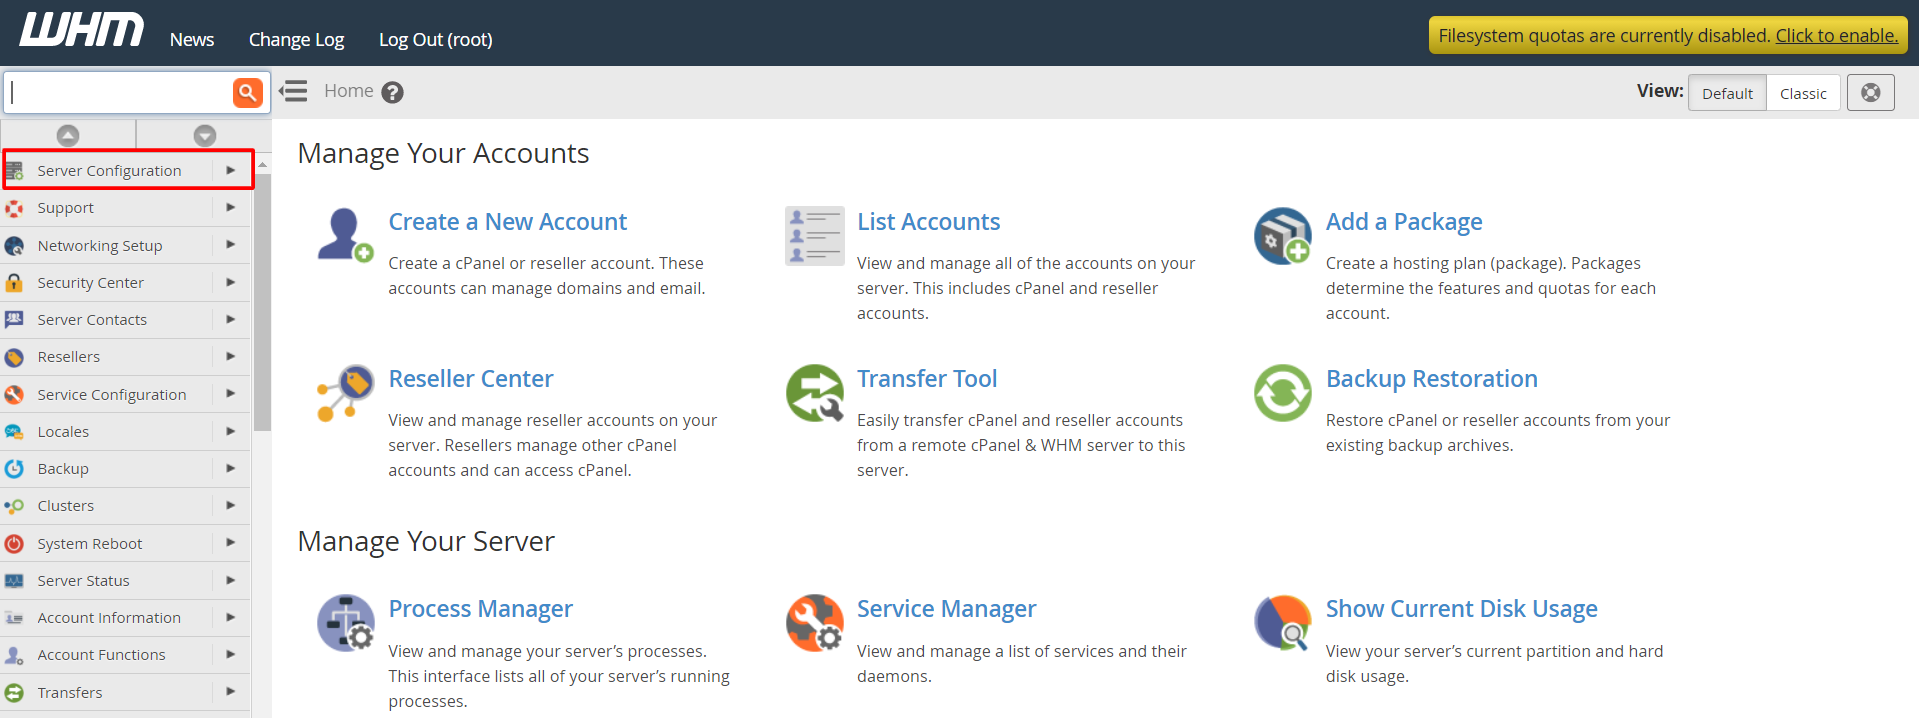
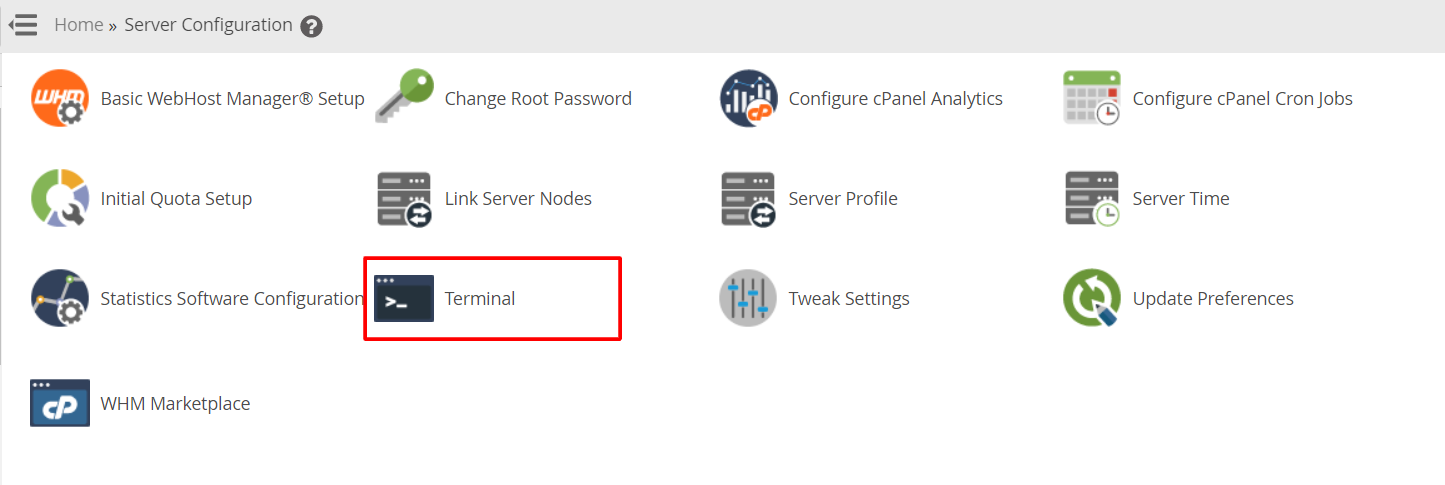
- Go to a temporary folder:
cd /usr/src - Download CSF:
This saves the CSF package to the server.wget https://download.configserver.com/csf.tgz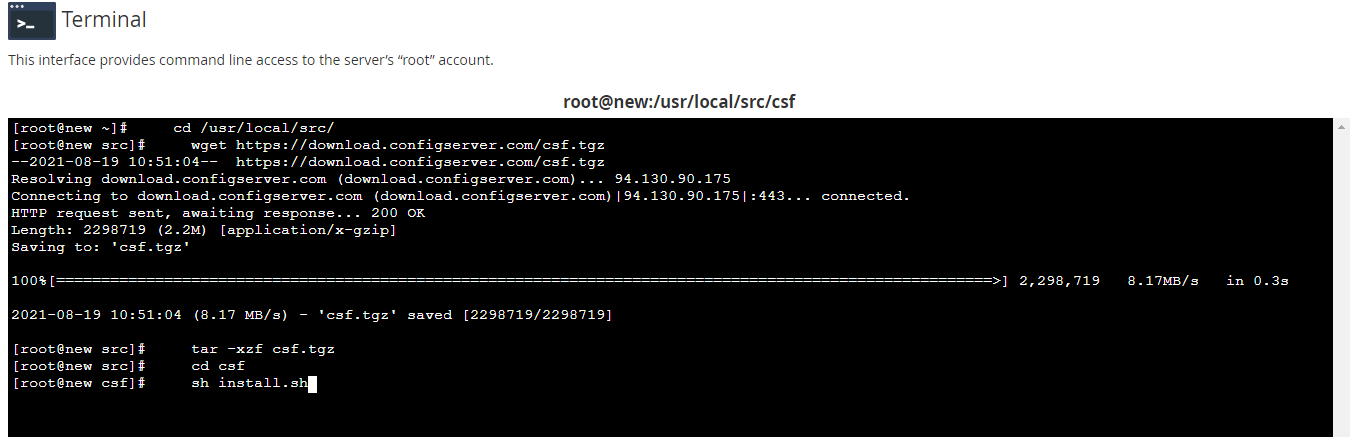
- Unpack it:
tar -xzf csf.tgz - Go into the new folder:
cd csf - Run the installer:
sh install.sh - Test that your server supports CSF:
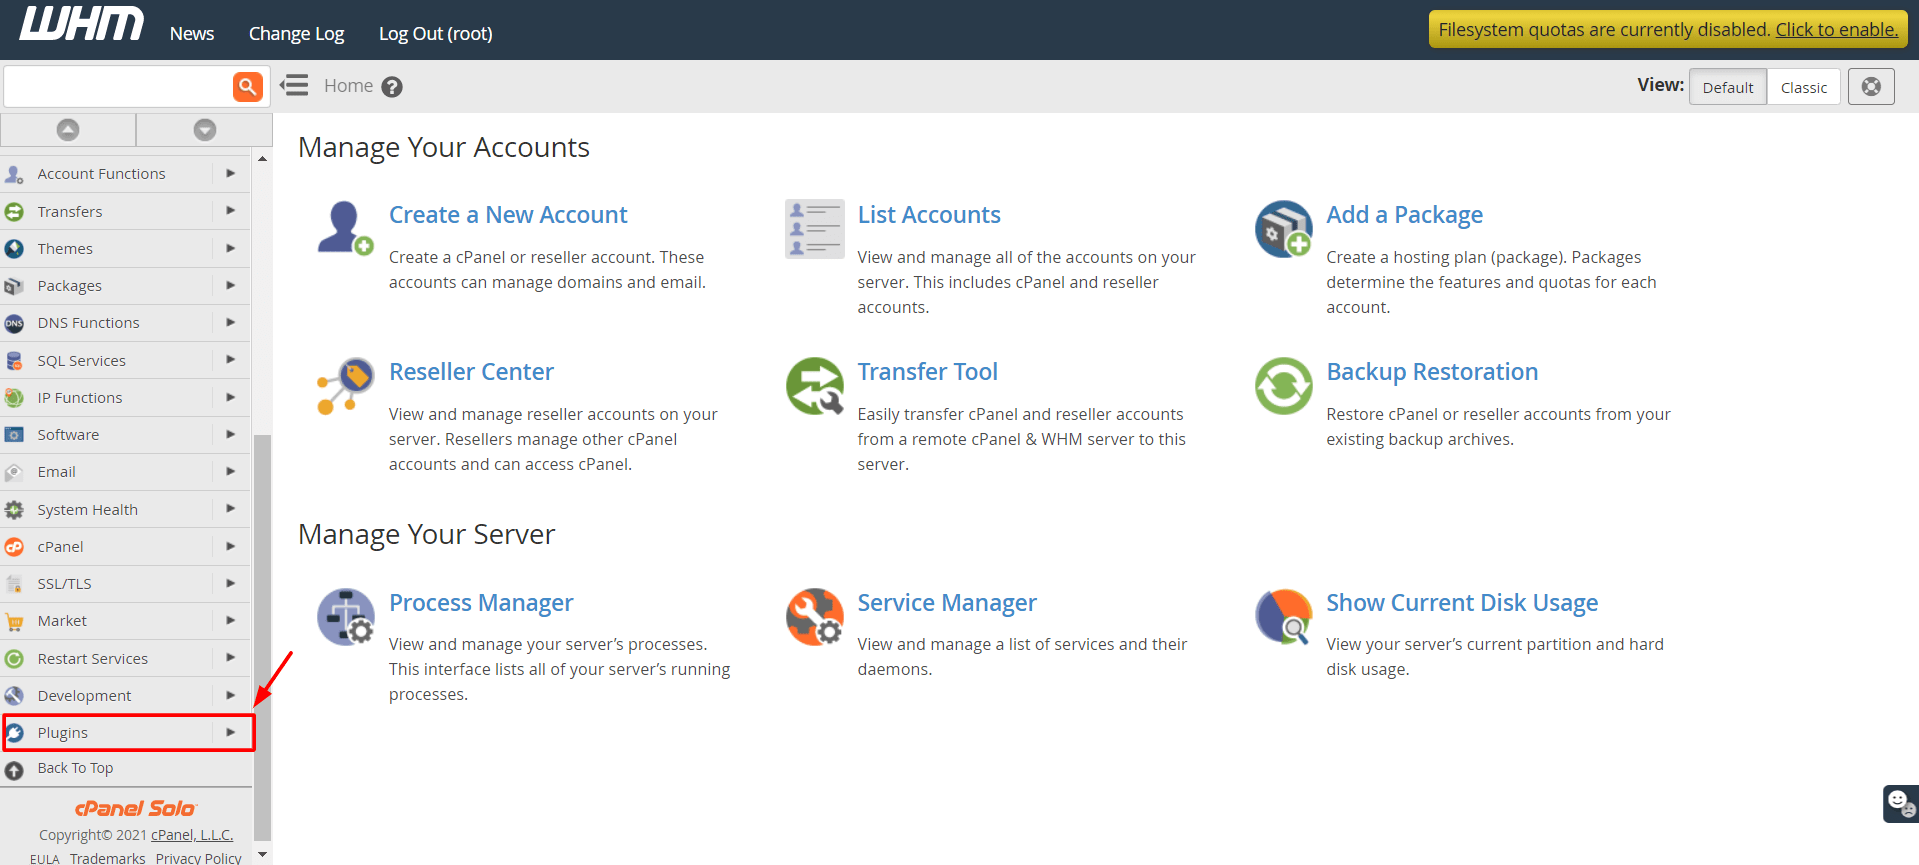
You should see "RESULT: csf should function on this server".perl /usr/local/csf/bin/csftest.pl - Log in to WHM.
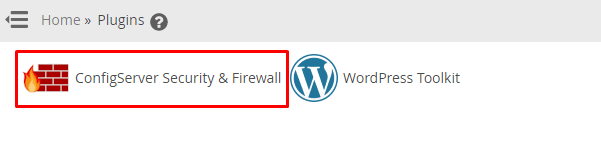
- In the search box on the left, type ConfigServer Security & Firewall and click it.
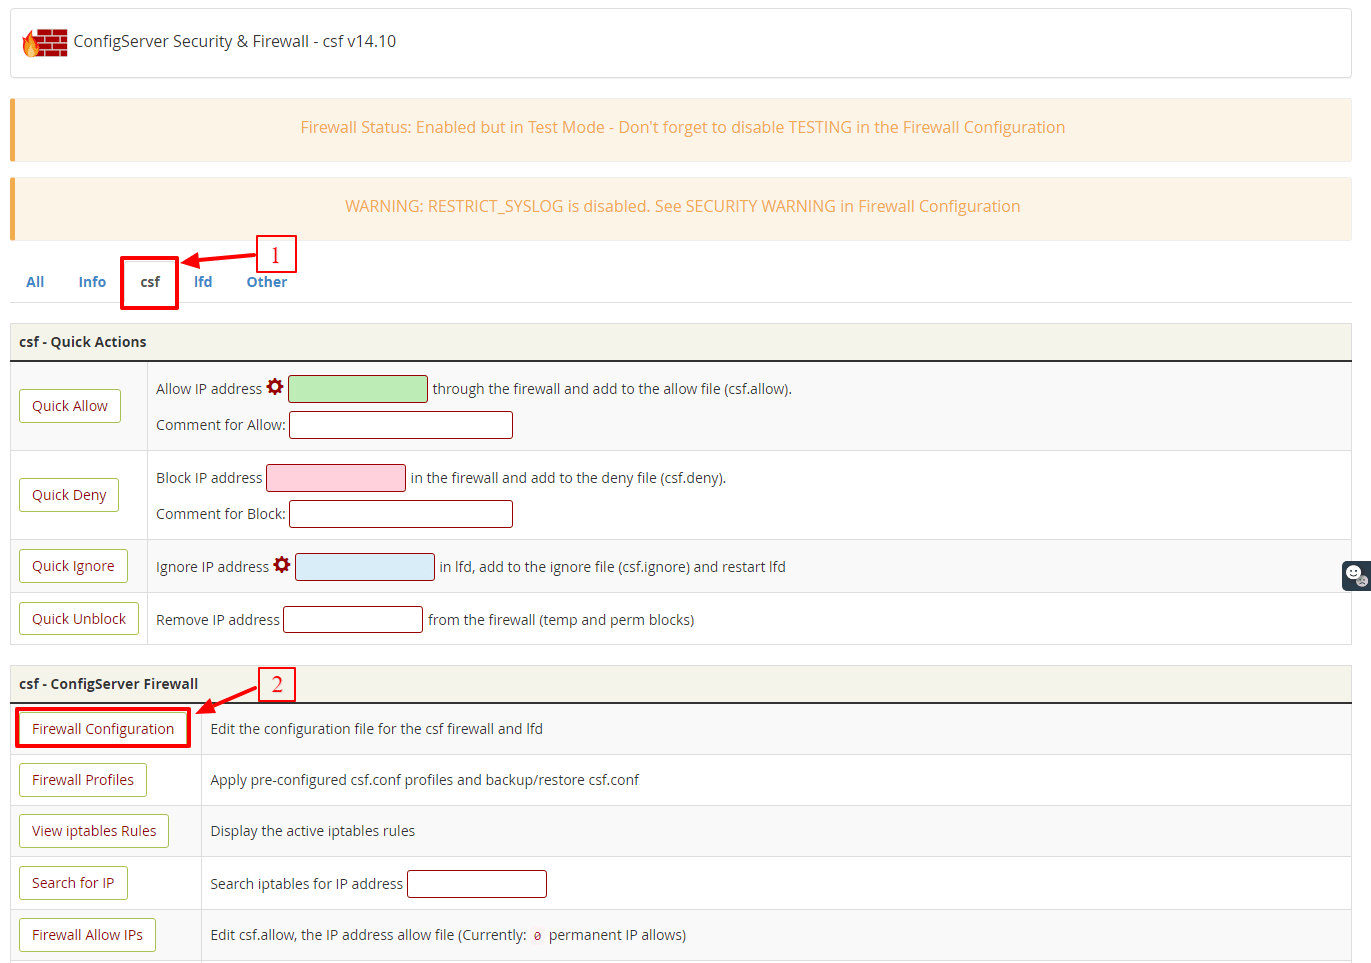

- Click Firewall Configuration to see the settings.
Important first settings
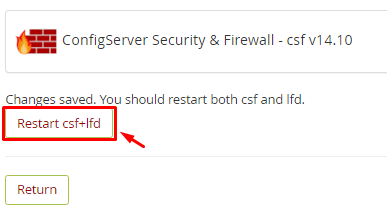
CSF starts in testing mode. In this mode it clears its rules every few minutes, so you cannot lock yourself out by mistake. When you are sure all is fine, open the configuration and set TESTING to 0. Then click Change and restart CSF.
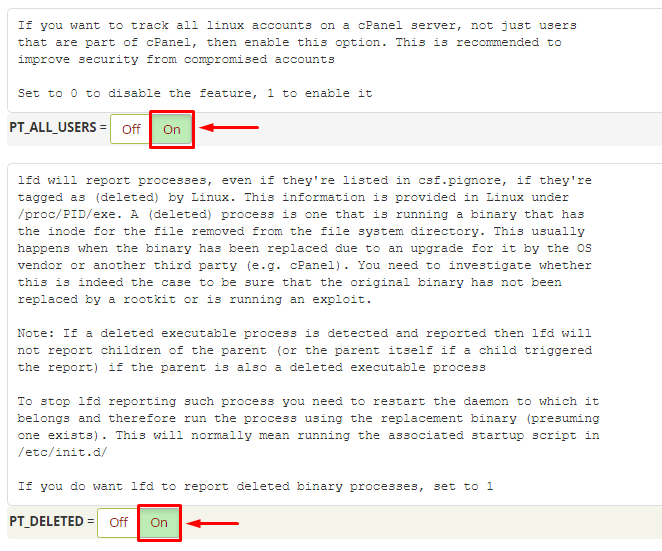
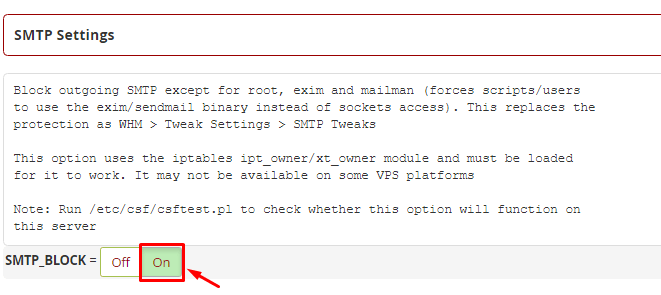
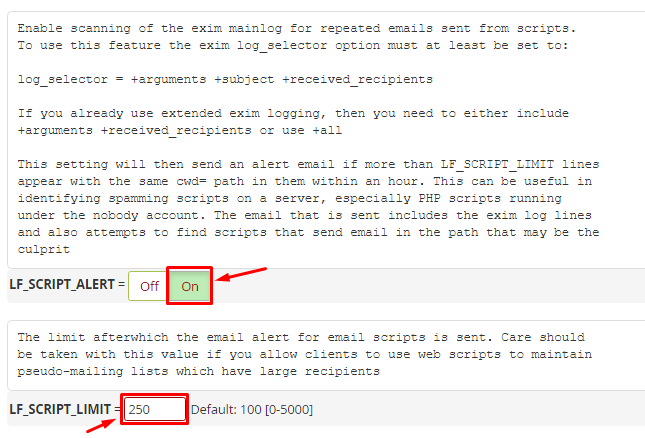

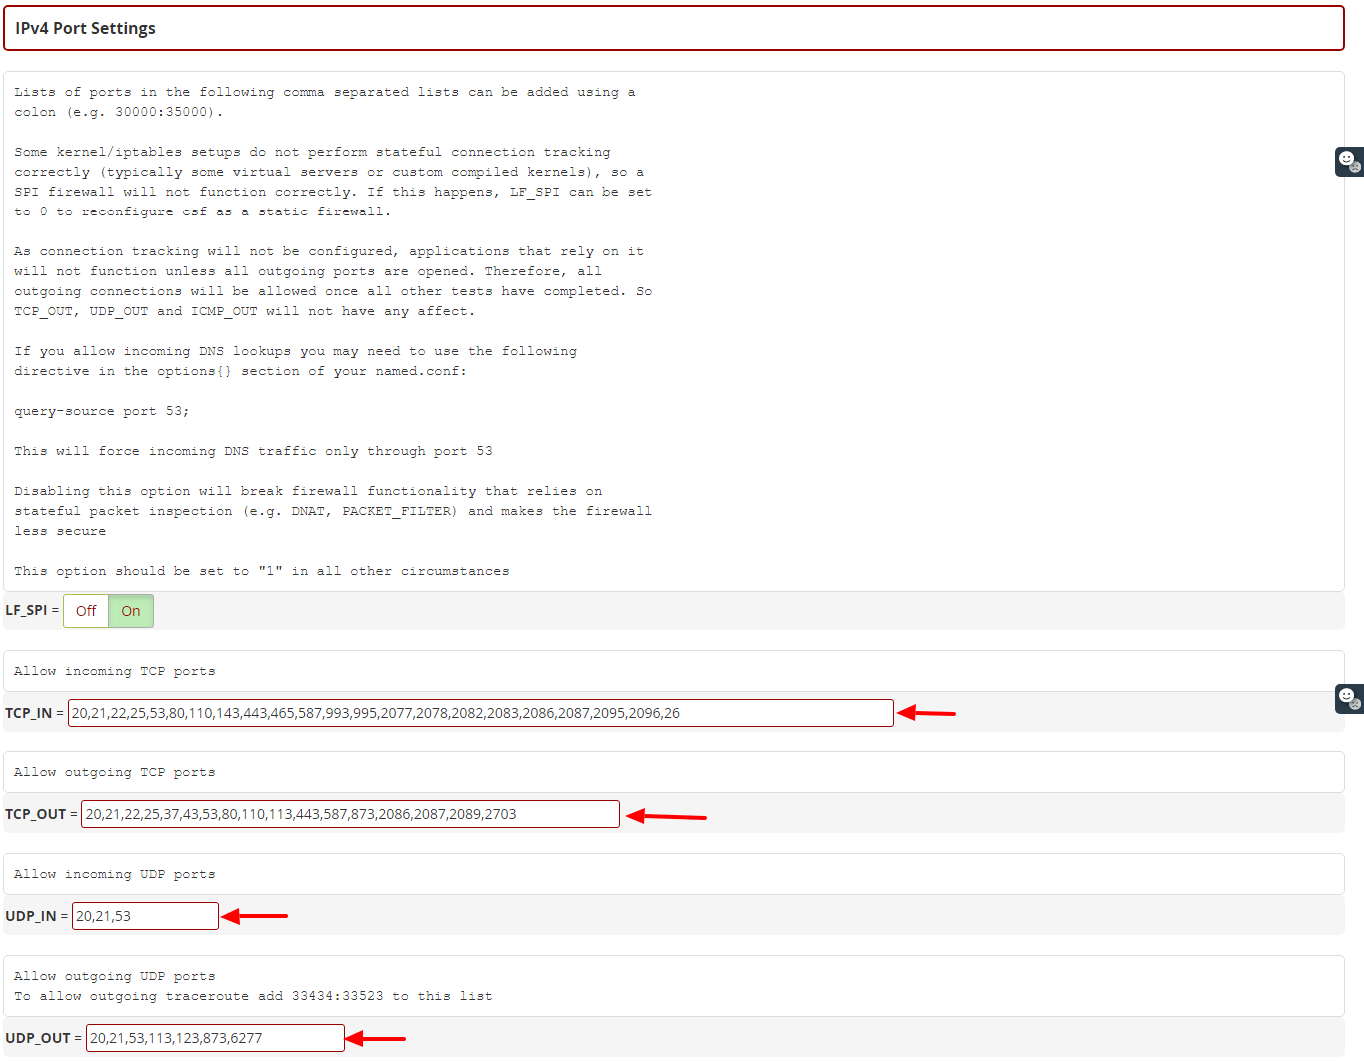
Check the list of open ports. Keep the ports you need open, such as 80, 443, 22 for SSH and the cPanel and WHM ports.
Quick recap
- CSF is a free firewall that works inside WHM.
- Download it, unpack it and run
sh install.shas root. - Open it in WHM through ConfigServer Security & Firewall.
- Allow your own IP before you turn off testing mode.
