

What are these things?
IIS (Internet Information Services) is the program on Windows Server that shows websites. An SSL certificate is a digital badge that makes your site safe over HTTPS. A .pfx file is a single package that holds your certificate and your private key together, protected by a password. It is like a locked bag with everything inside.
Before you start
Copy the .pfx file to the server. Make sure you know its password. Keep a copy of the file in a safe place.
Step 1: Import the certificate
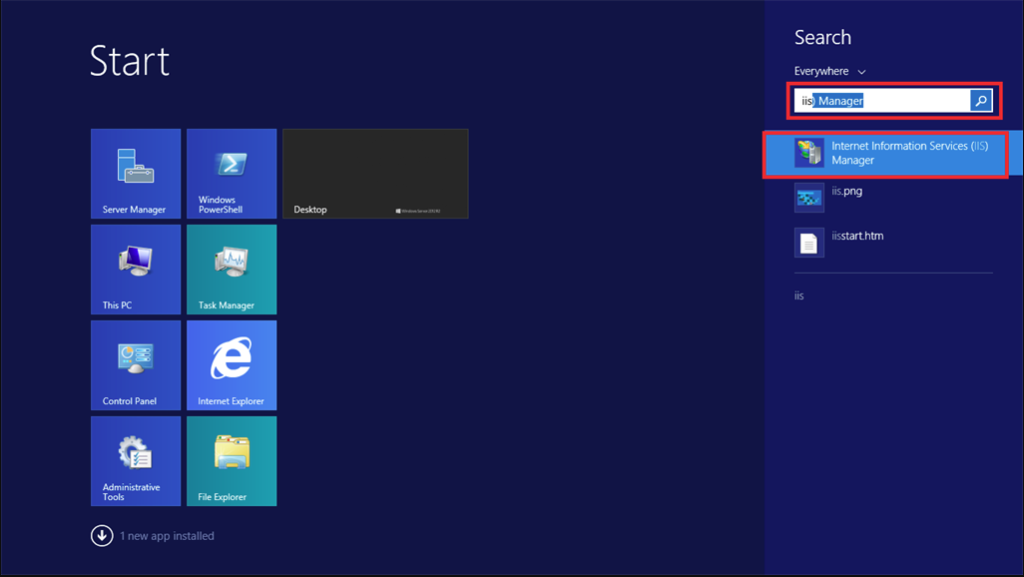
- Log in to the server.
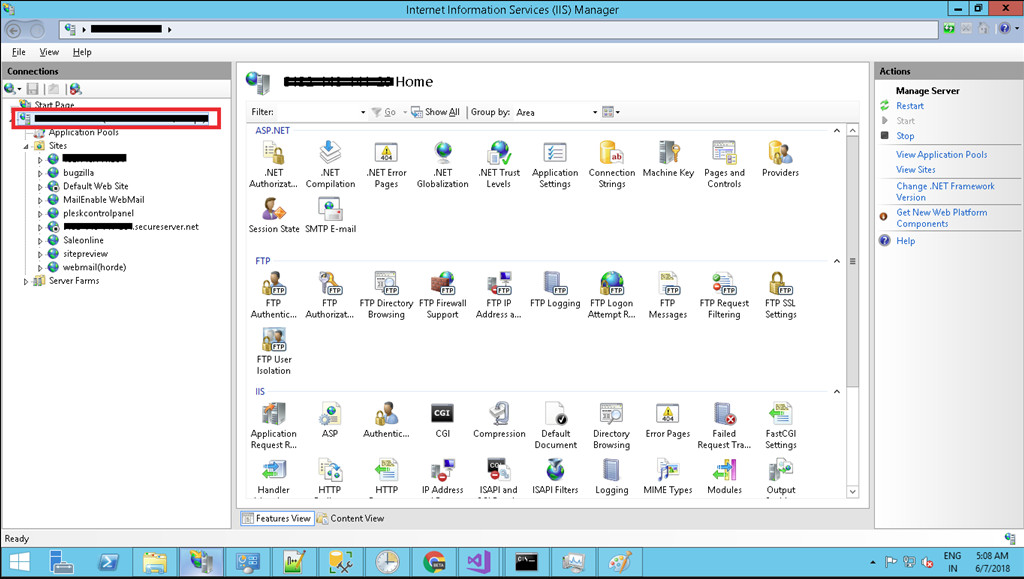
- Open Start, type inetmgr and press Enter. This opens IIS Manager.
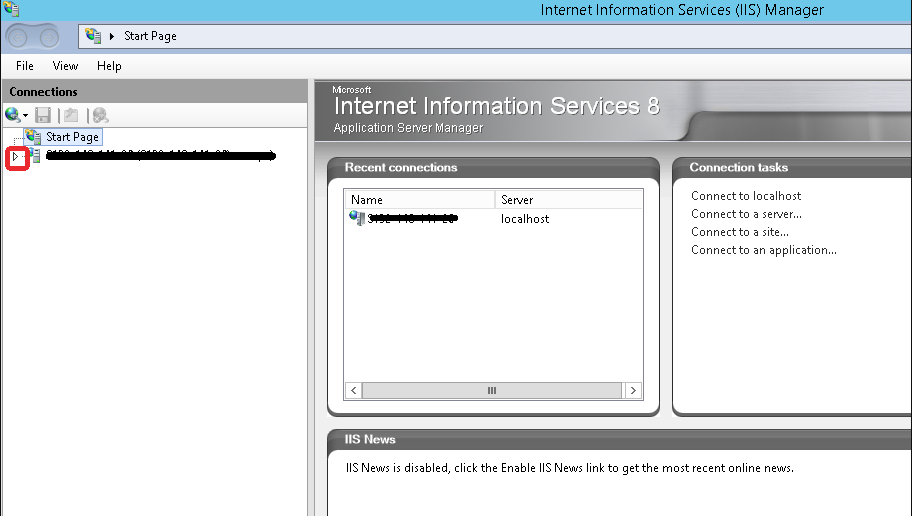
- In the left panel, click your server name.
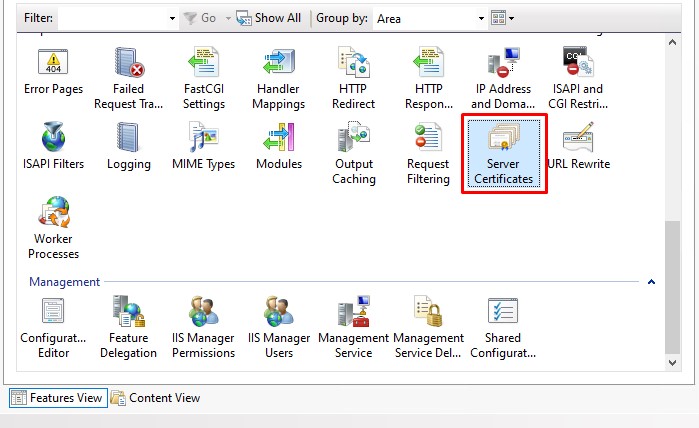
- In the middle, double-click Server Certificates.
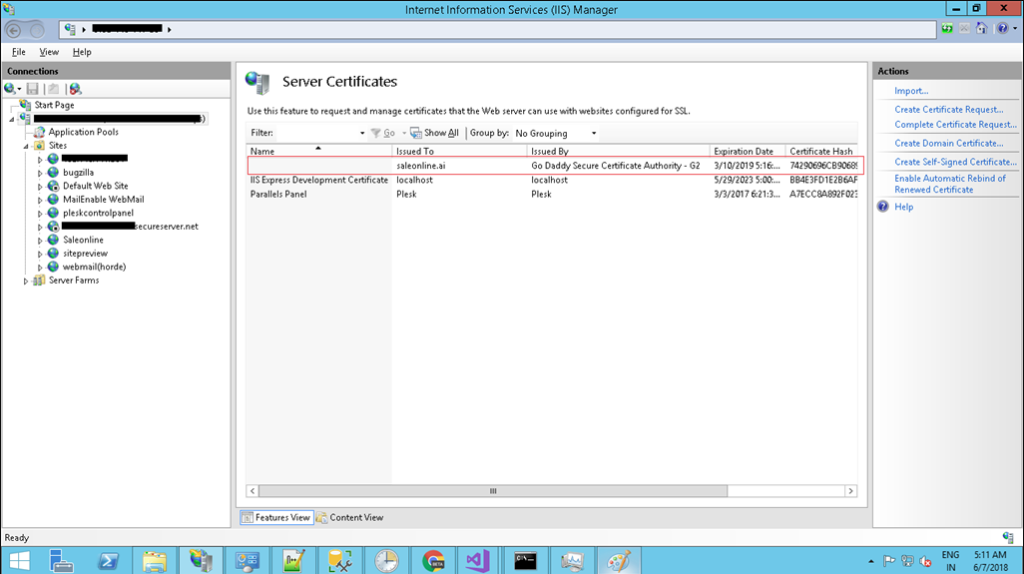
- In the right panel, click Import.
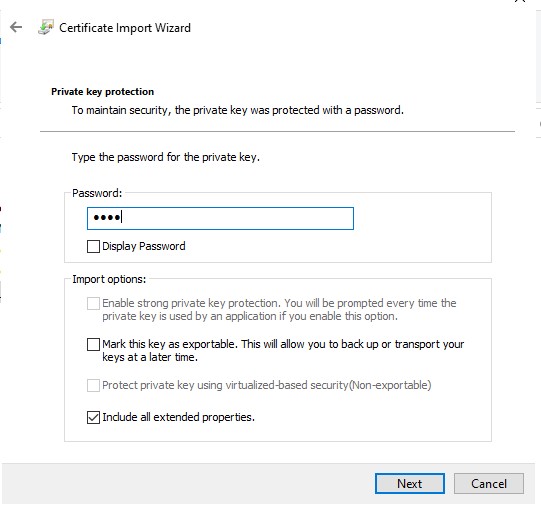
- Click the ... button next to Certificate file (.pfx) and choose your file.
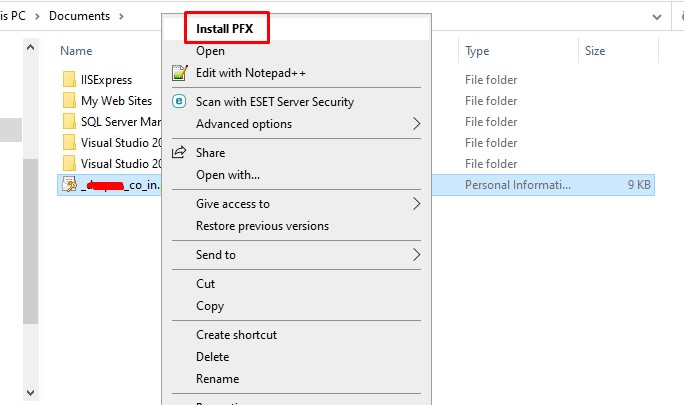
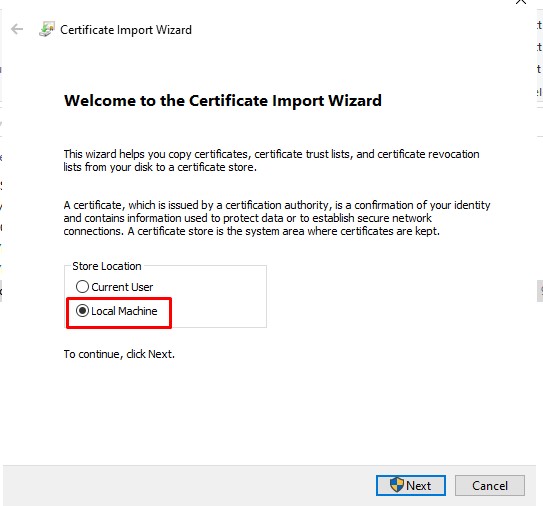
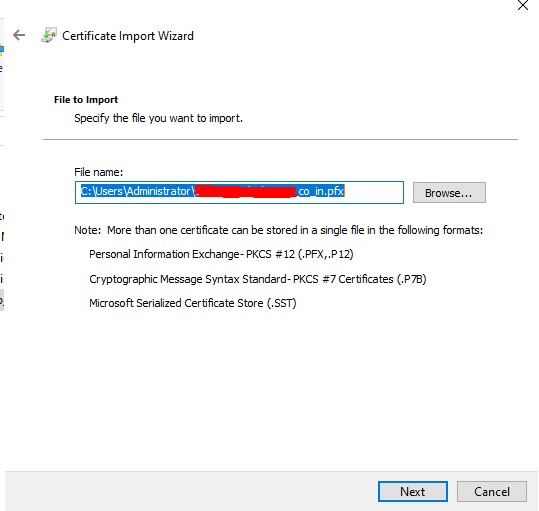
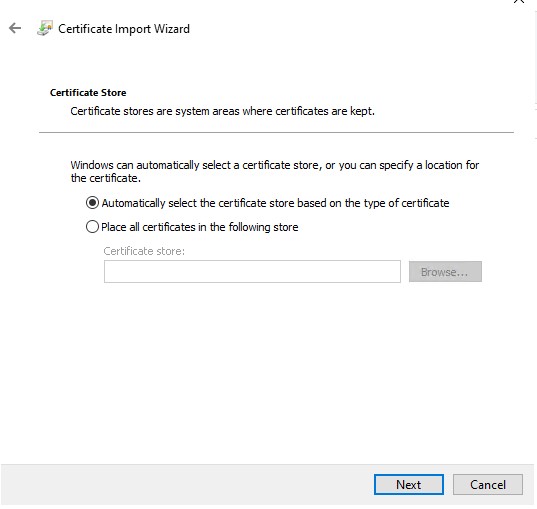
- Type the password.
- Set Select Certificate Store to Personal or Web Hosting. Web Hosting is useful when you host many sites.
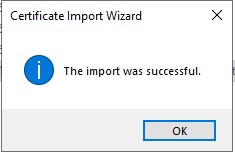
- Click OK. Your certificate now appears in the list.
Step 2: Bind it to your website
A binding links a certificate to a website and a port.
- In the left panel, expand Sites and click your website.
- In the right panel, click Bindings.
- Click Add.
- Set Type to https.
- Keep the port at 443.
- Type your domain in Host name if you host more than one site.
- In SSL certificate, pick your certificate from the list.
- Click OK, then Close.
Step 3: Test
- Open
https://yourdomain.comin a browser. - Look for the padlock.
If it does not work
- Check that port 443 is open in the Windows firewall and in any network firewall.
- Check that the certificate name matches your domain.
- Check that the certificate has not expired.
- Restart the site in IIS Manager using Restart in the right panel.
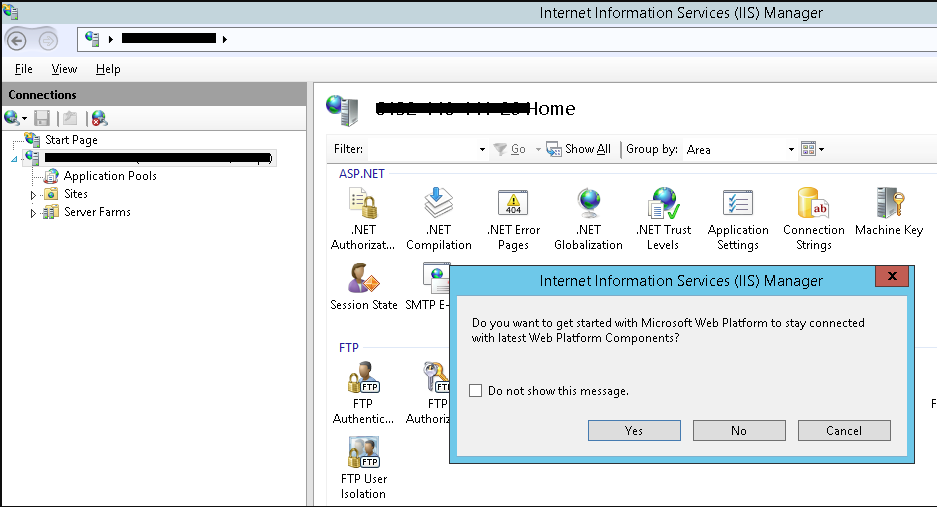
Tip: Menu names may look a bit different on older Windows Server versions, but the steps are very similar.
Quick recap
- A .pfx file holds the certificate and private key.
- Import it in Server Certificates in IIS Manager.
- Add an https binding on port 443 for your site.
- Test with HTTPS in a browser.