

What is a quota?
WHM is the control panel server owners use to manage many hosting accounts. cPanel is the panel each website owner uses. A quota is a limit on how much disk space an account can fill, like the size of a box for toys.
This guide is for people with a reseller, VPS or dedicated server who can log in to WHM. If you only have normal hosting, ask Hostvento support to change your limit. Your welcome email may show how to log in to WHM.
Steps
- Log in to WHM.
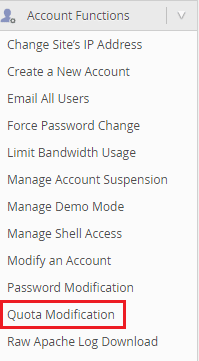
- In the search box on the left, type Modify an Account.
- Click Modify an Account under the Account Functions area.
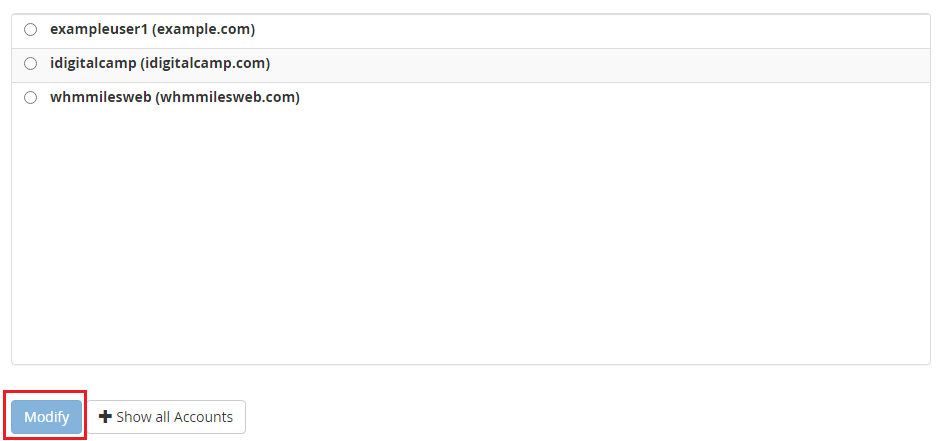
- Pick the account from the list. Then click Modify.
- Scroll to the section called Resource Limits.
- Find the field Disk Space Quota. It is measured in megabytes (MB).
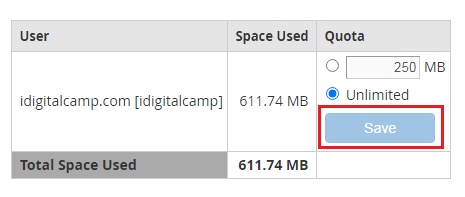
- Choose to type a number, or pick Unlimited if your server allows it.
- Click Save at the bottom of the page.
- Wait for the green success message.
Check how much space is used
- In WHM, search for List Accounts.
- Look at the disk usage column next to the account.
- Pick a new limit that is above that number.
Change the limit for a whole package
A package is a ready-made set of limits that you give to accounts. If the account uses a package, the package may set the quota. Use Edit a Package to change it. Changing a package can affect every account that uses it. Think before you save.
Some accounts are set apart from their package. If you edit a single account, the change applies only to that account.
Quick recap
- A quota is a disk space limit for one account.
- Use Modify an Account in WHM, then Resource Limits.
- Save and look for the success message.
- Never set the limit below current usage.
- Package changes affect all accounts in that package.