

What is WHMCS?
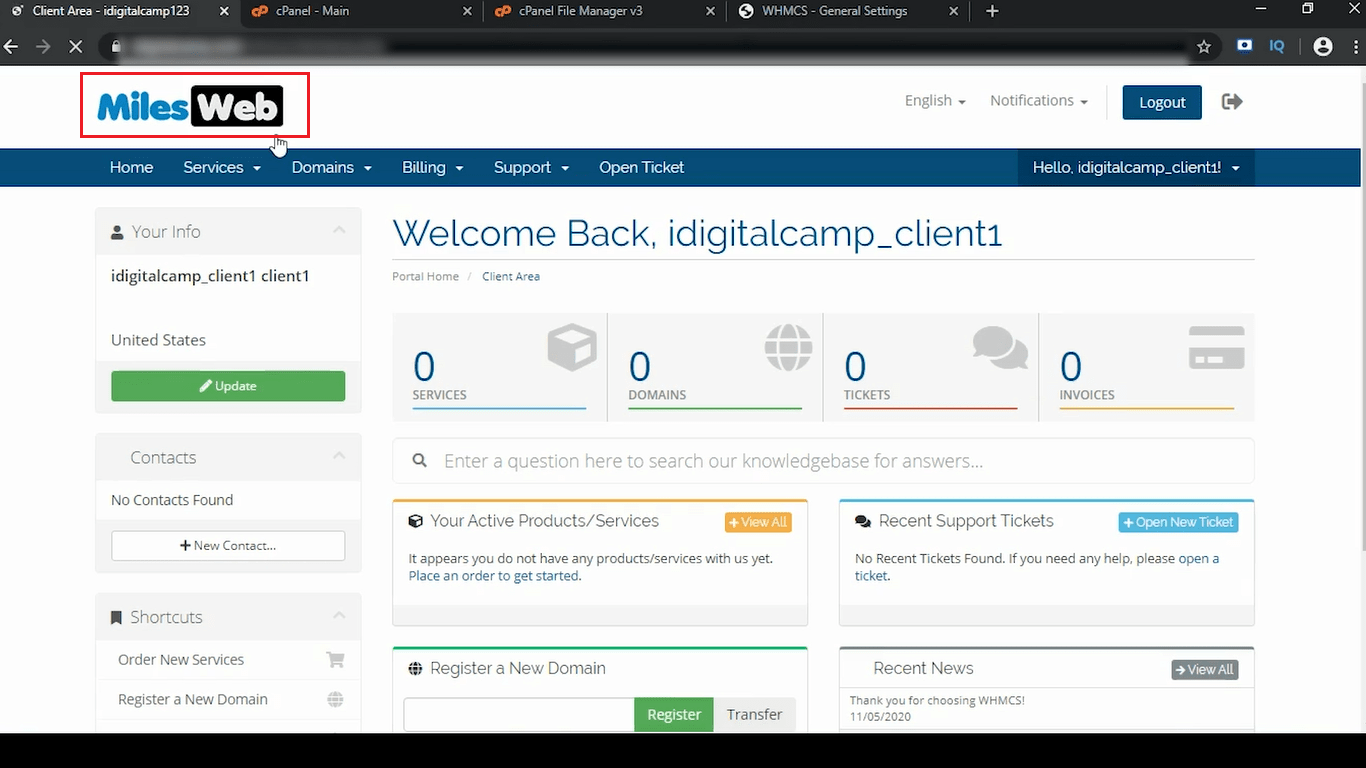
WHMCS is billing and support software that web hosting companies use. Customers log in to it to pay invoices, order services and open tickets. A logo is the picture that shows your brand at the top of each page.
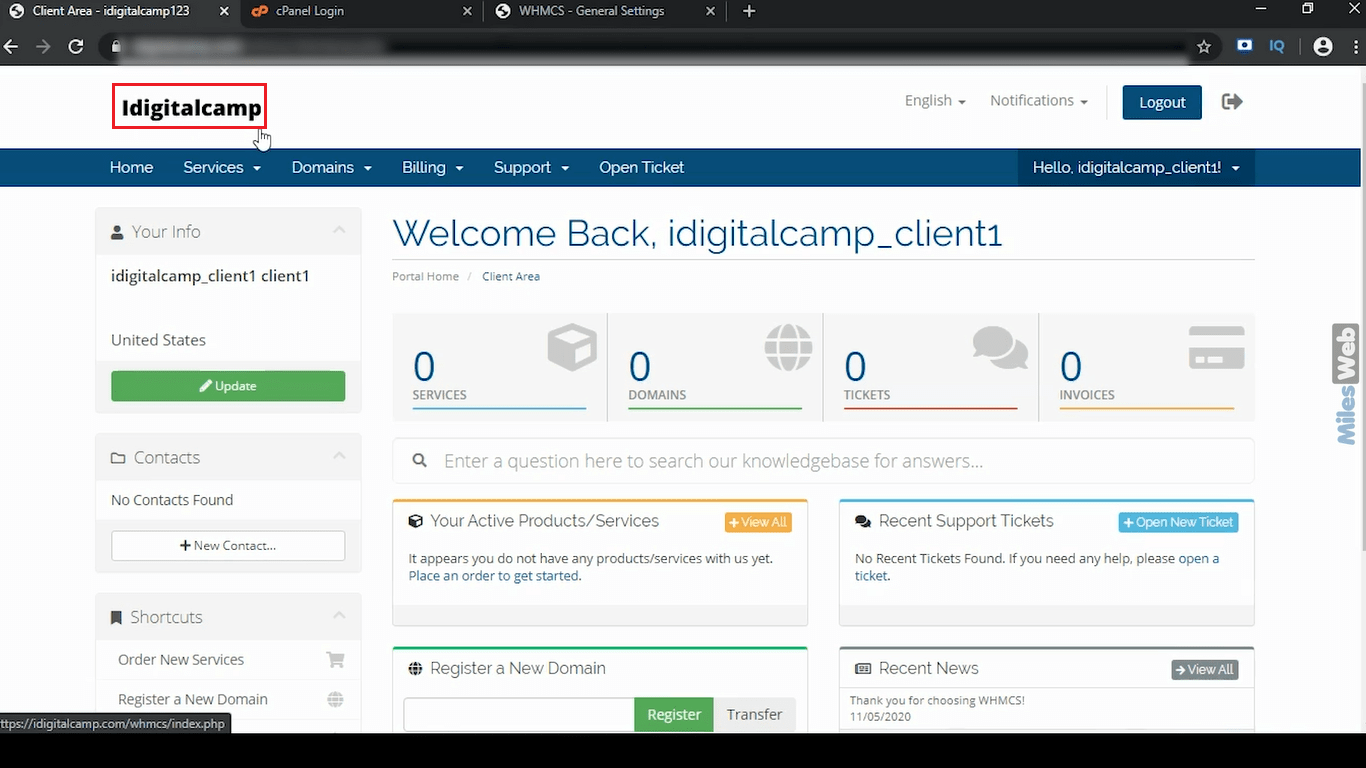
This guide is for people who run their own WHMCS. You need access to its admin area and to its files.
Before you start
- Prepare your logo as a PNG or JPG file. PNG with a clear background looks best.
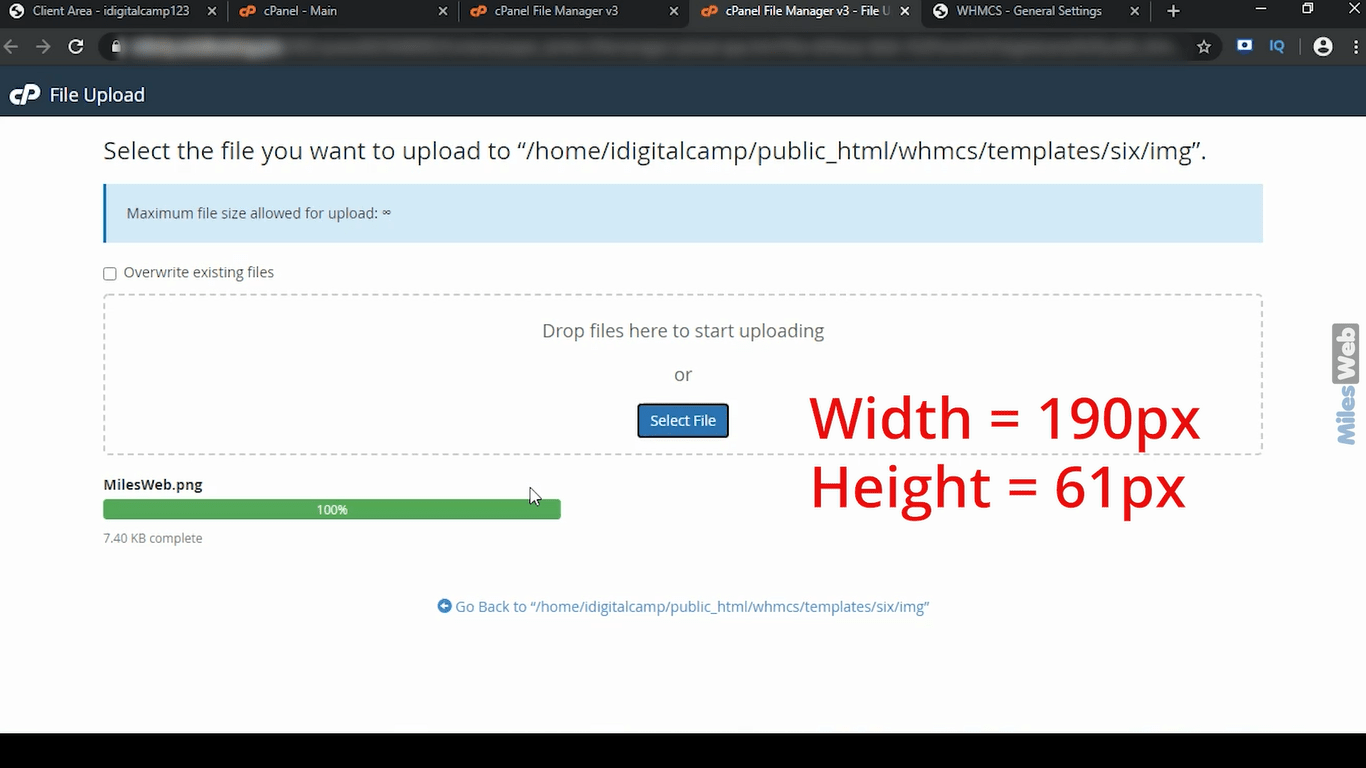
- Pick a sensible size, such as about 200 pixels wide. A pixel is one tiny dot of a picture.
- Take a backup of the theme folder before editing.
Steps for the client area
- Log in to your WHMCS admin area.
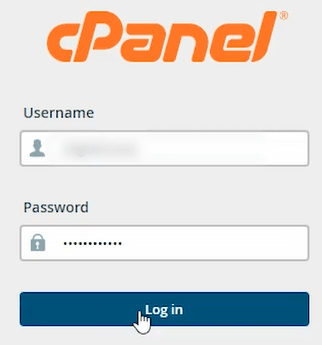
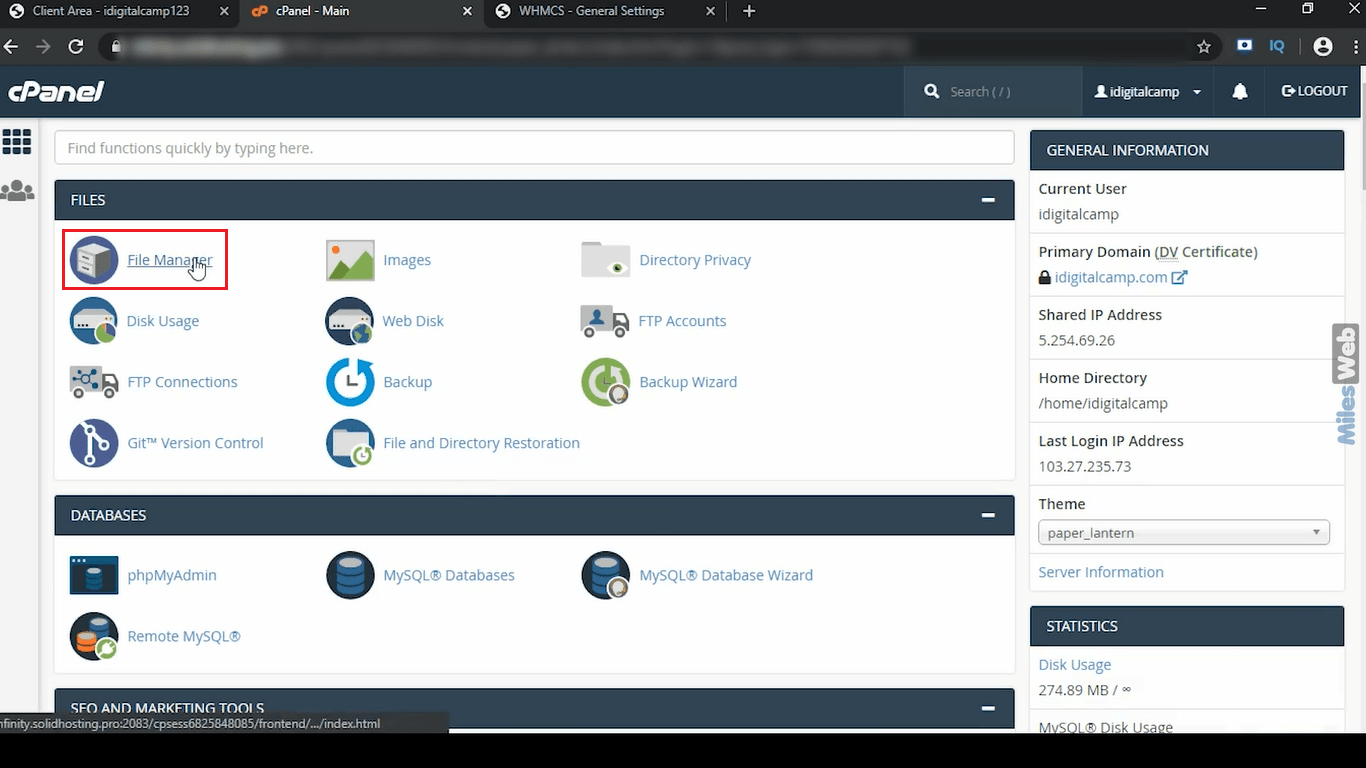
- Open your hosting file manager, or connect with FTP. FTP is a tool for sending files to a server.
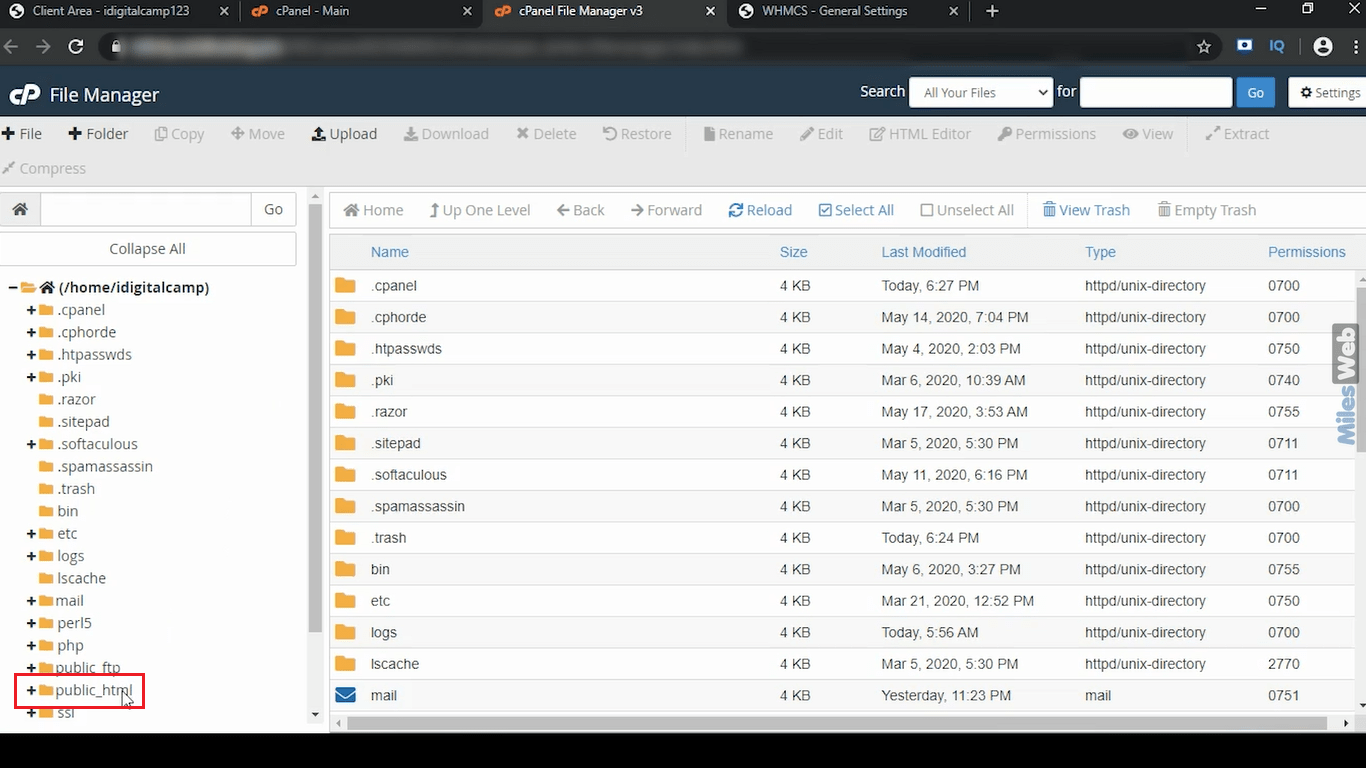
- Go to the folder named
templatesinside your WHMCS folder.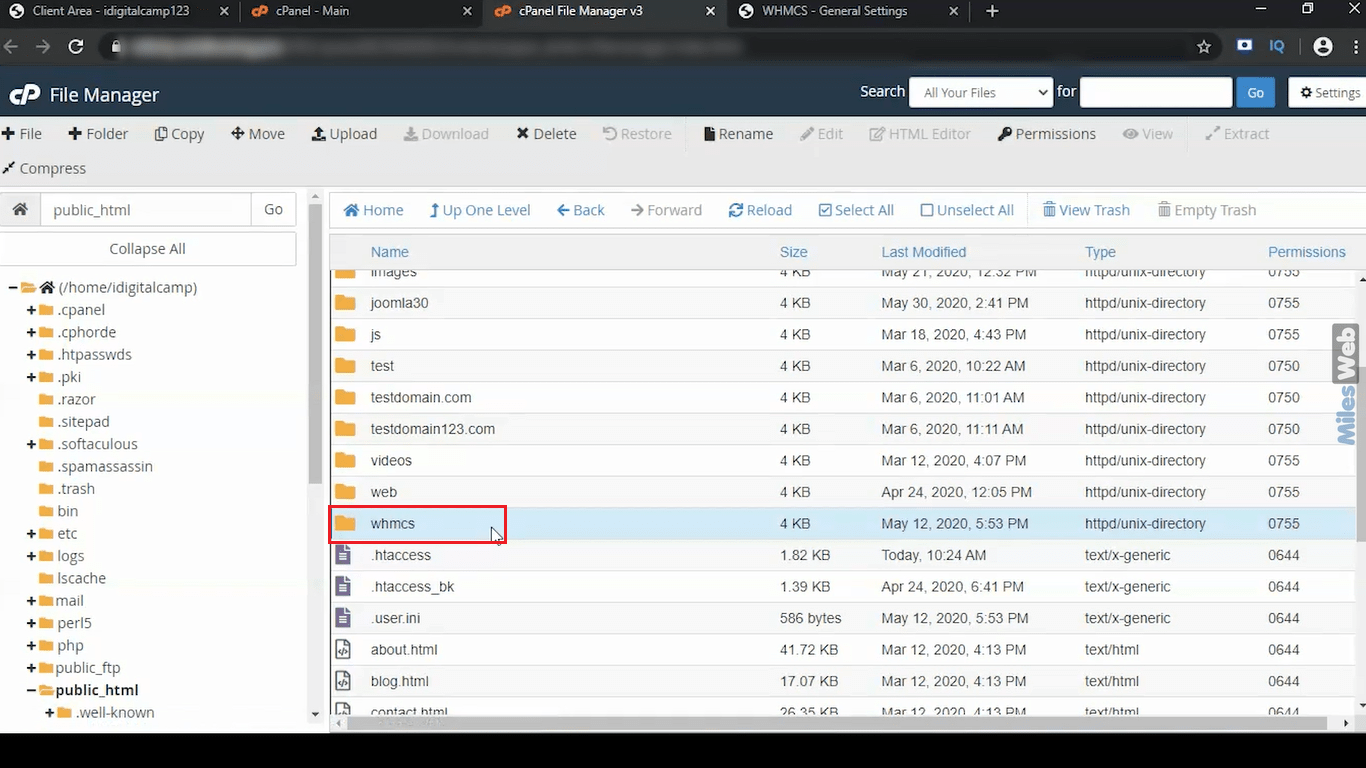
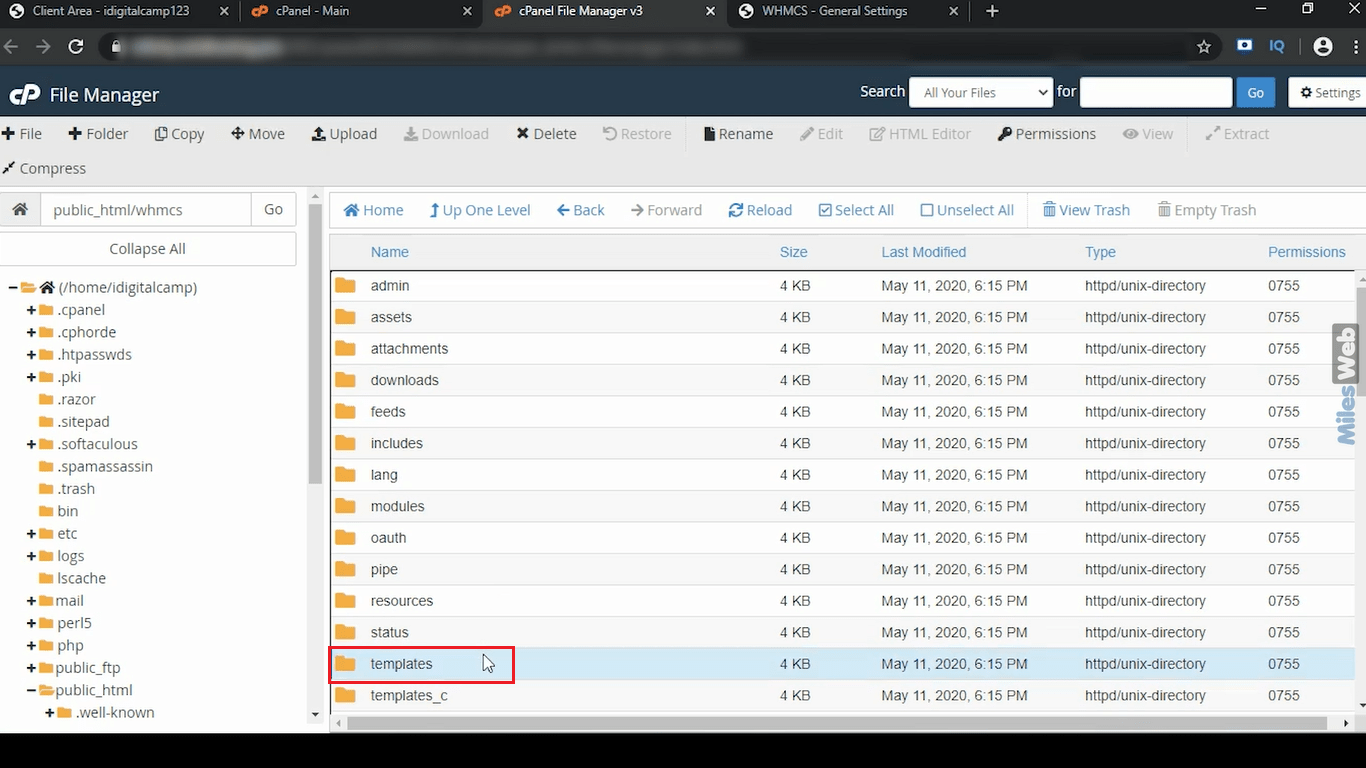
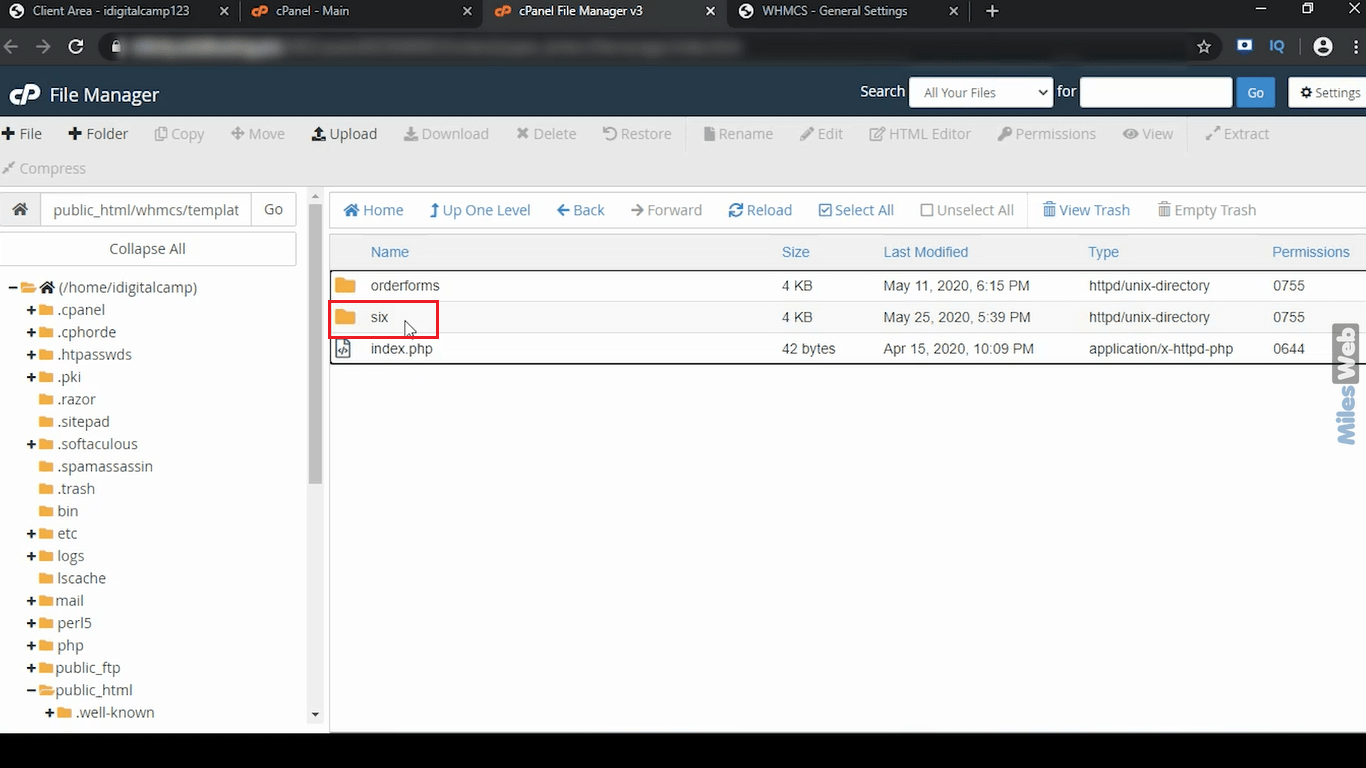
- Open the folder of the theme you use, for example
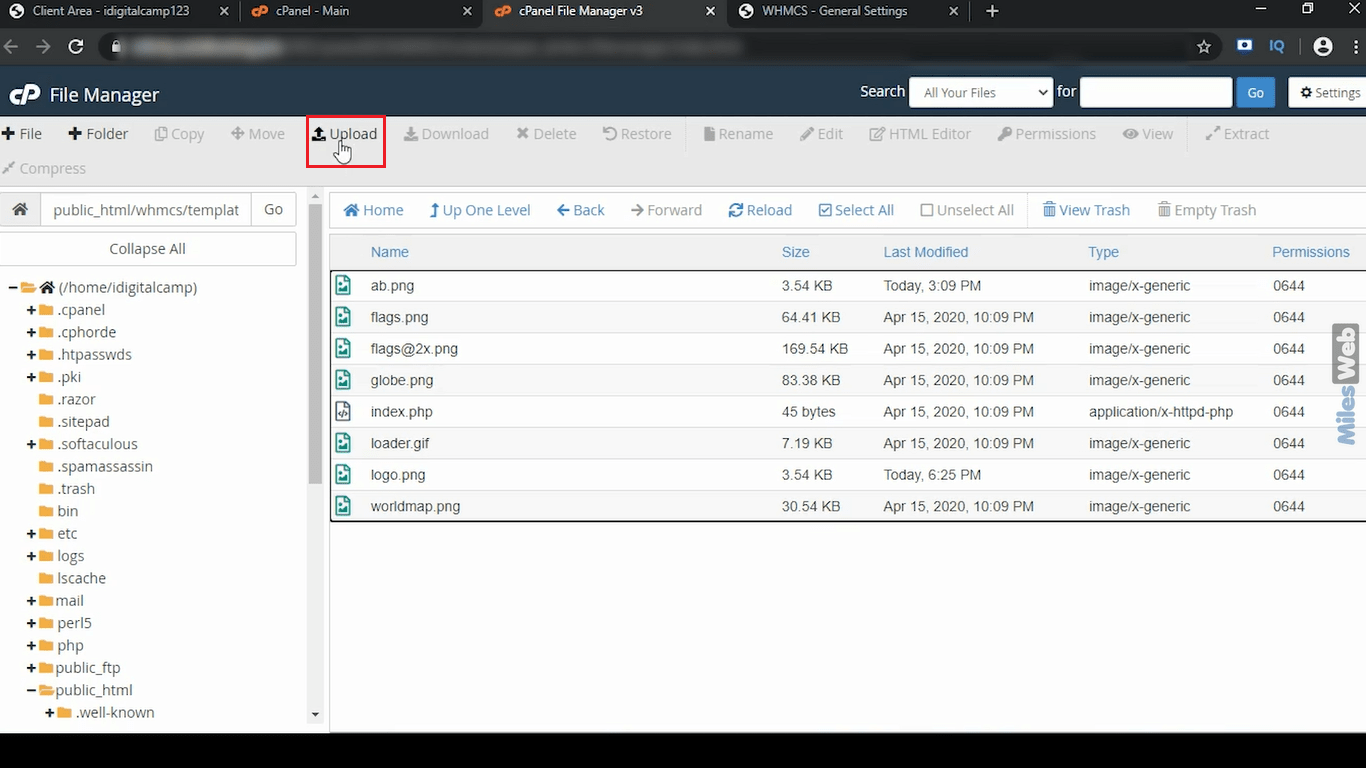
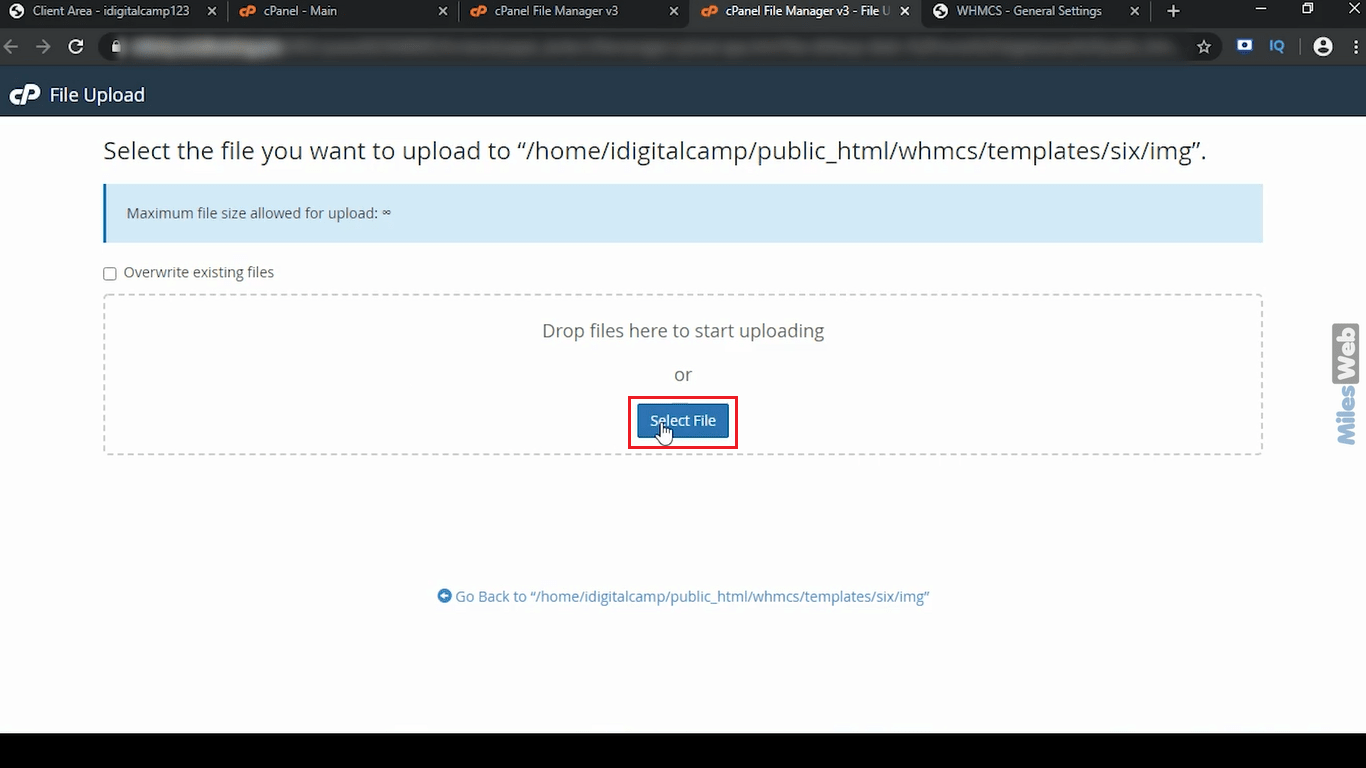
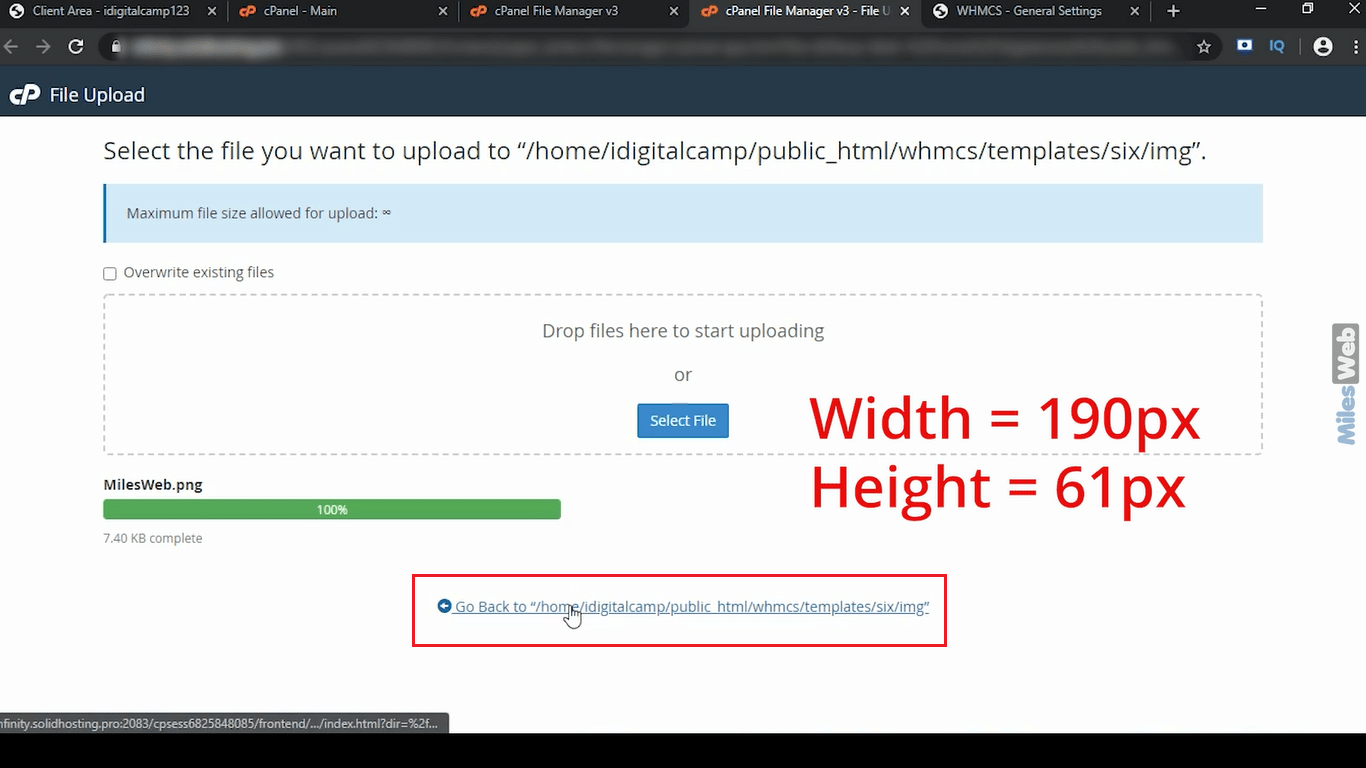
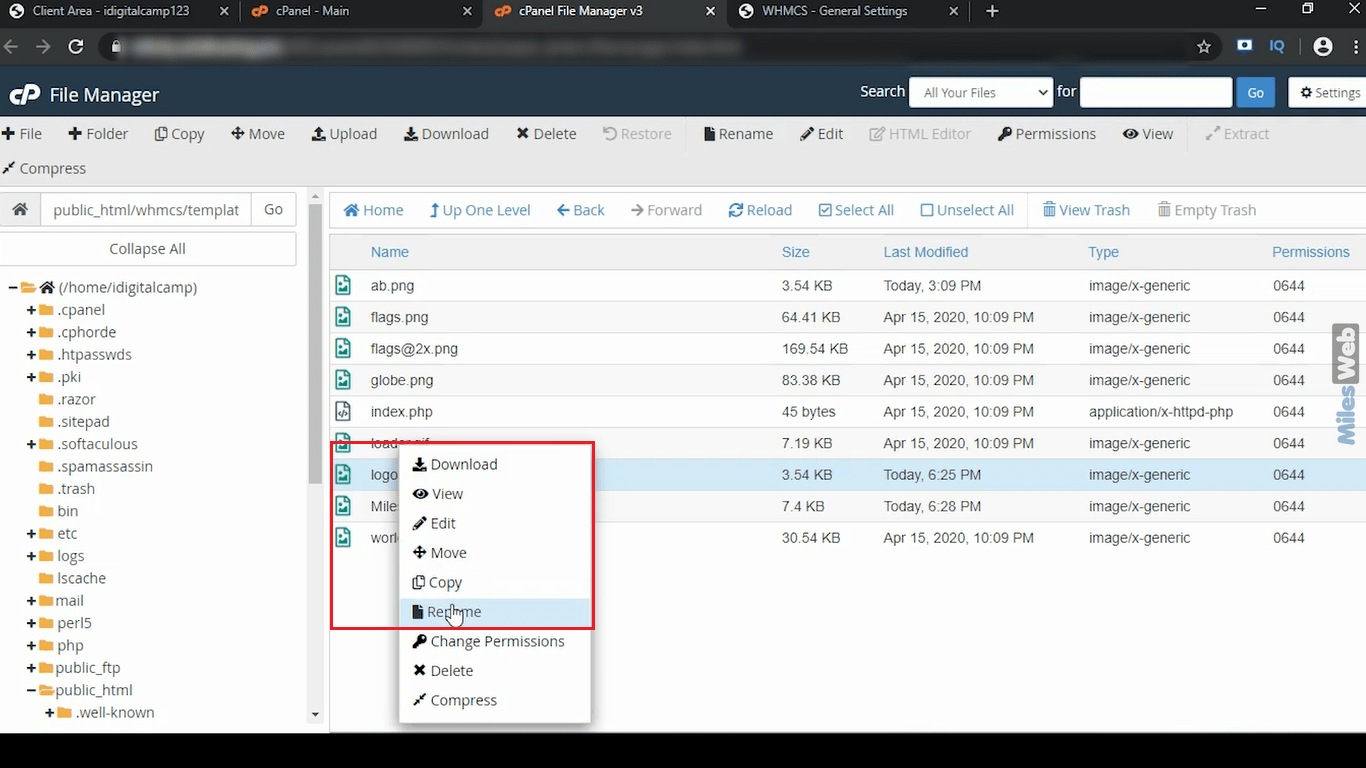
twenty-one. - Upload your logo into the
imgfolder of that theme. Name itlogo.png. - Open the file
header.tplfrom the same theme. - Look for the line that holds the logo picture, which often contains
logo.pngor the text of the company name. - Change the image path so it points to your new file.
- Save the file and reload your client area. Clear your browser cache if the old logo still shows.
Warning: Do not edit the original theme if you can avoid it. An update may replace your changes. Copy the theme to a new folder, edit the copy and choose it in settings.
Steps for the admin area and emails
- In the admin area, go to Configuration, then System Settings, then General Settings.
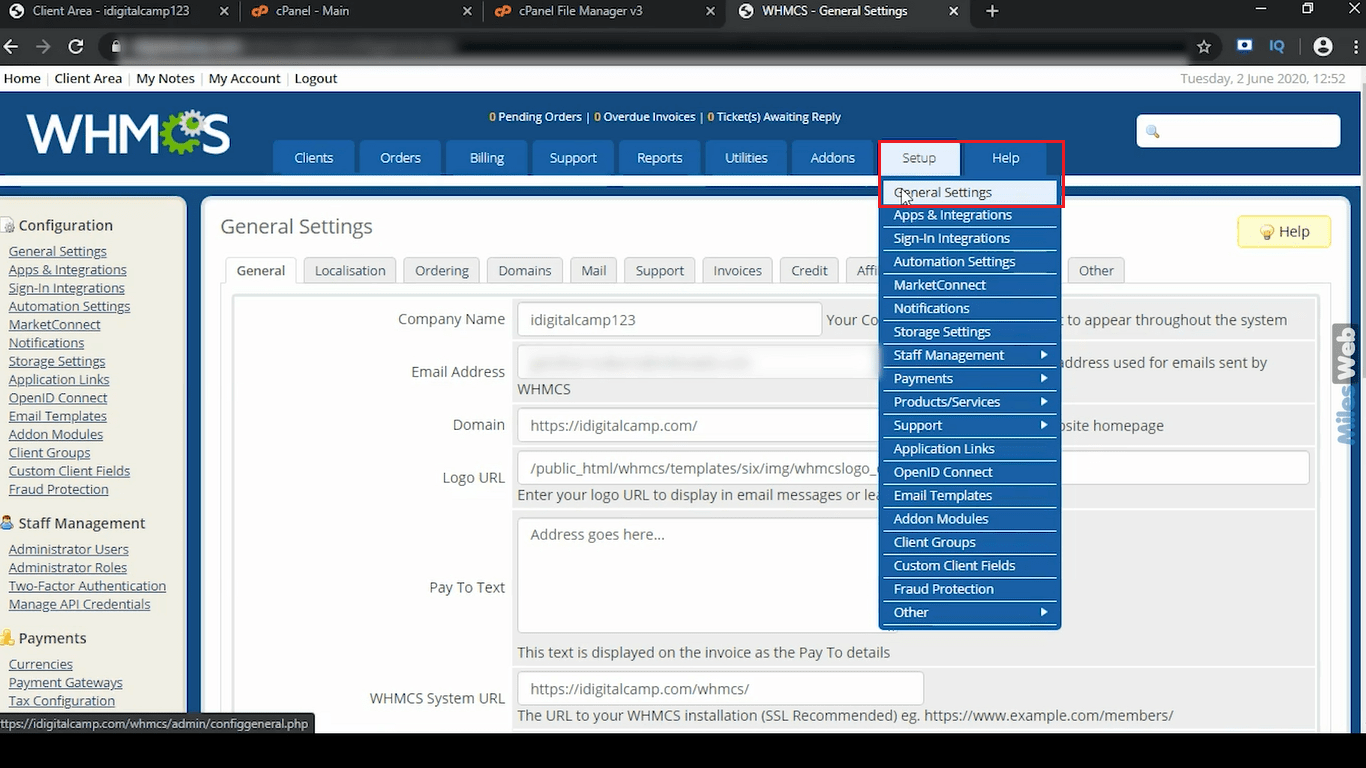
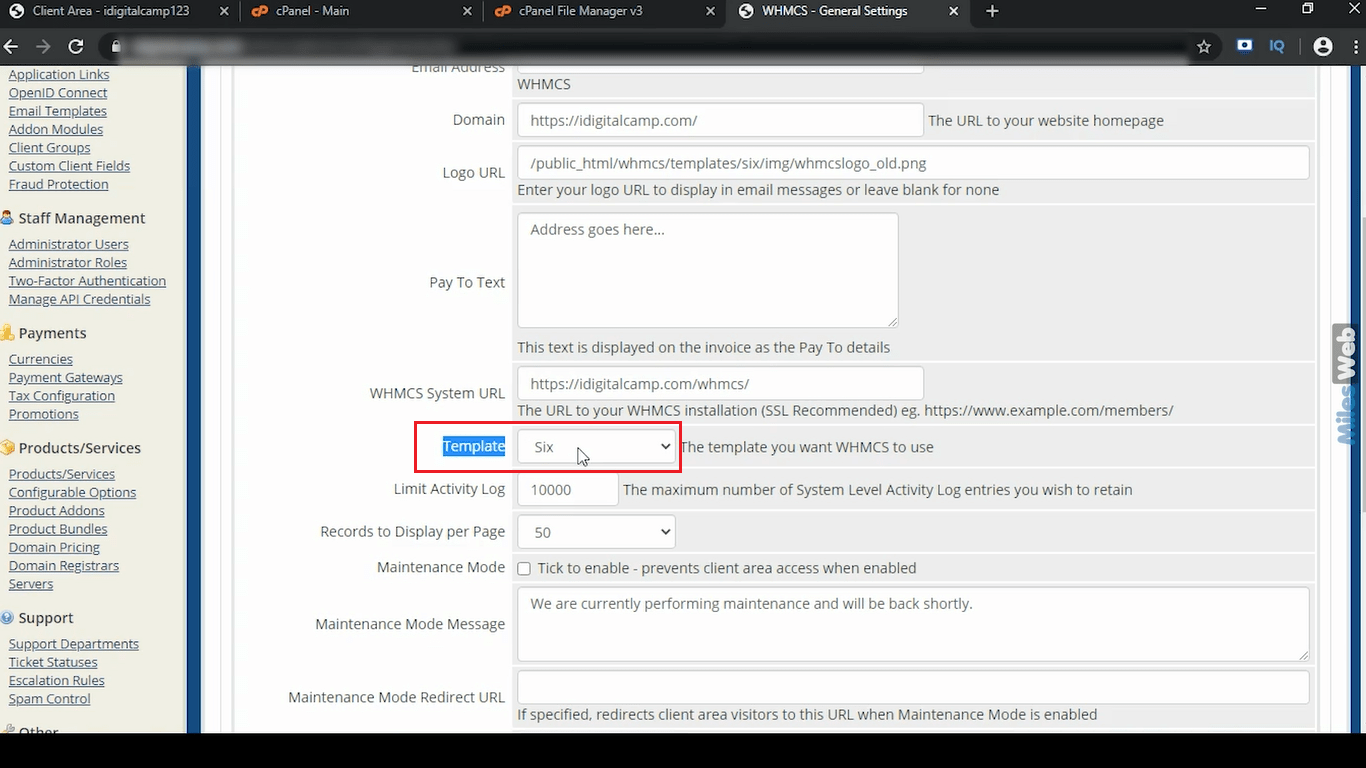
- Find the Logo URL field and paste the web address of your logo.
- Click Save Changes.
Menu names can change between WHMCS versions. If you cannot find a setting, use the search box in the admin area.
Quick recap
- WHMCS is billing and support software.
- Upload your logo to the theme's
imgfolder.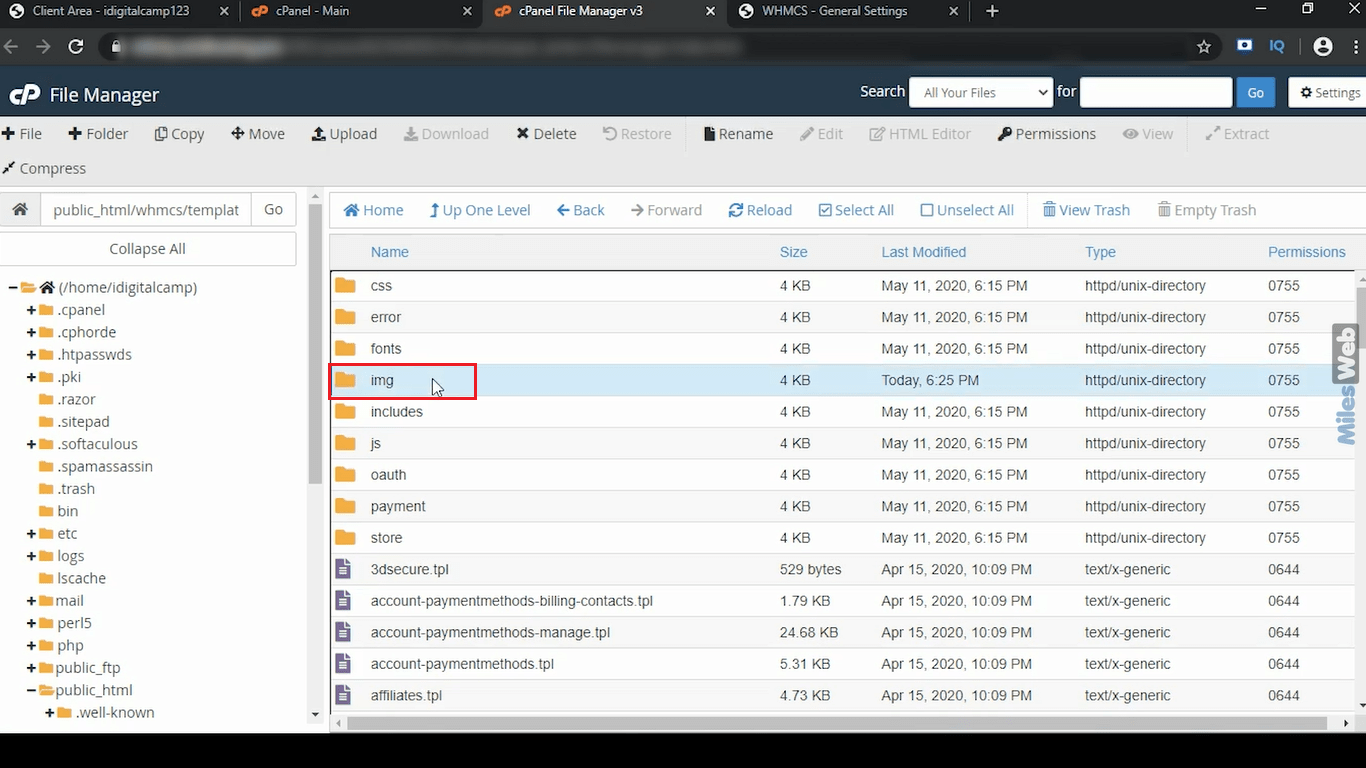
- Edit
header.tplif the logo path needs changing.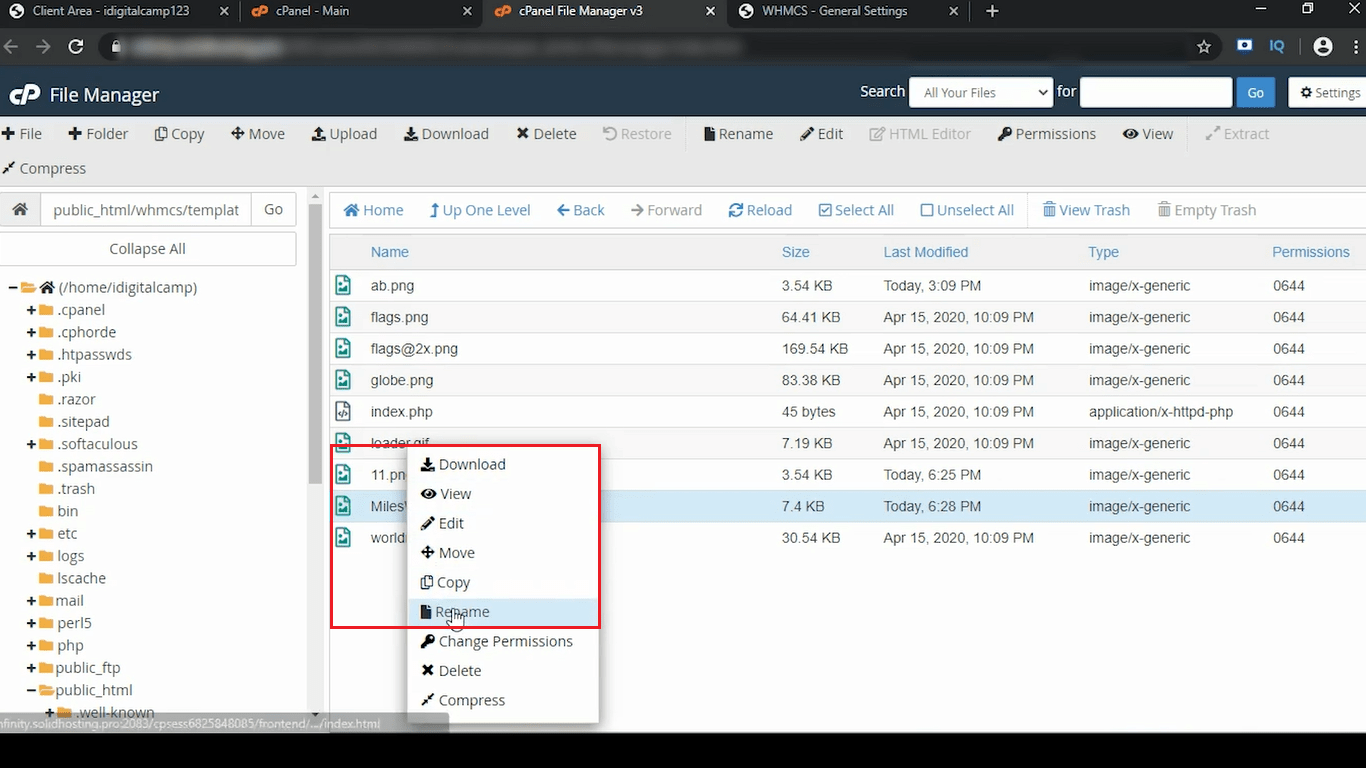
- Set Logo URL in General Settings for emails.
- Work on a copy of the theme and keep a backup.