

What does remote access mean?
SQL Server is a program that stores data. "Remote" means you reach it from another computer over the network or internet. By default, a new SQL Server often accepts only local connections. You must switch on a few settings.
Warning: Opening a database to the internet is risky. Use strong passwords. Allow only the IP addresses you trust if you can. Take a backup before changing settings. This guide needs admin rights on the server.
Part 1: Turn on TCP/IP
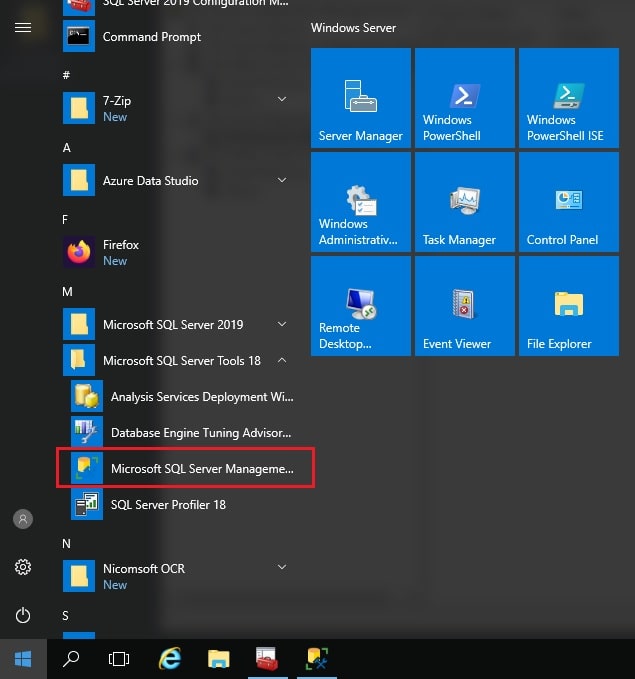
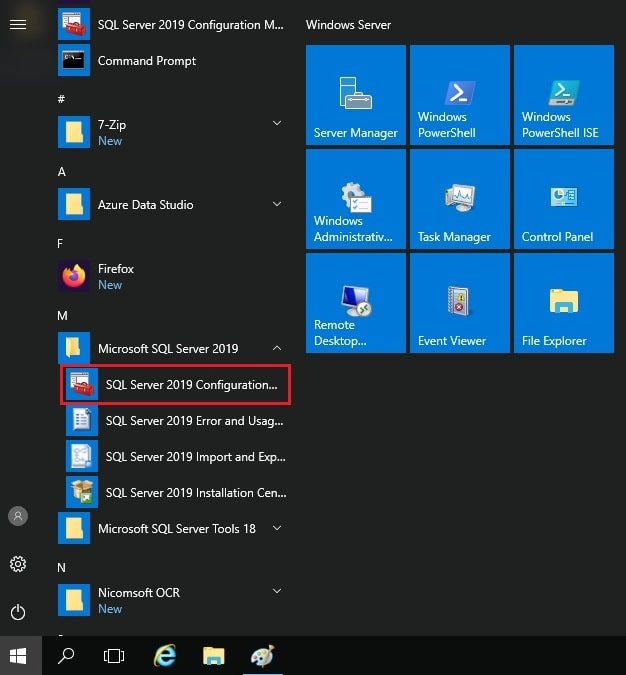
- On the server, click Start and open SQL Server 2019 Configuration Manager.
- Expand SQL Server Network Configuration.
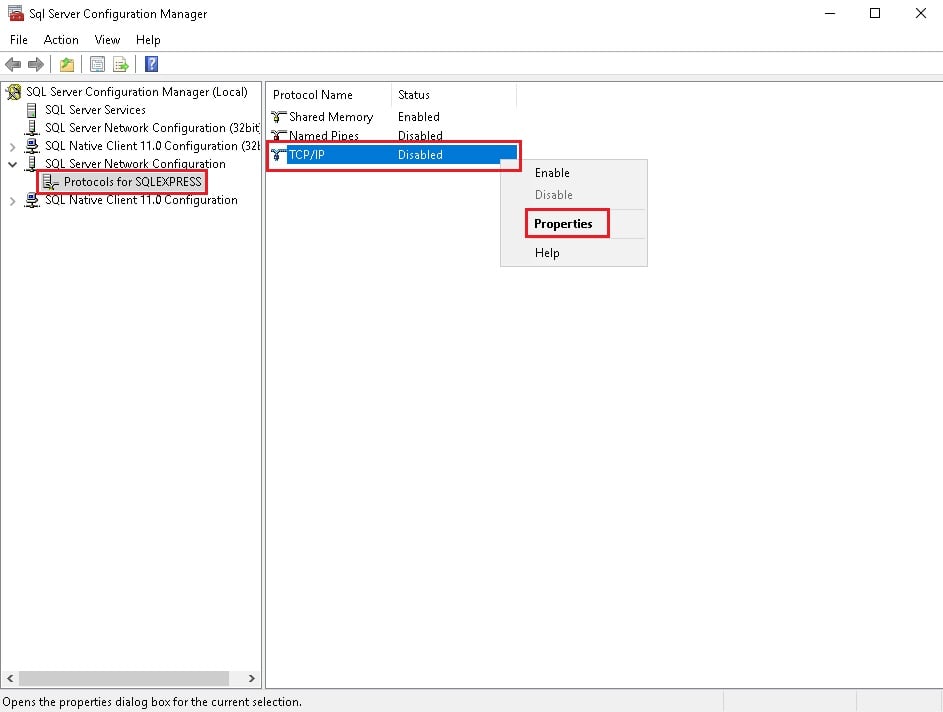
- Click Protocols for MSSQLSERVER. A named instance has its own name here.
- Right-click TCP/IP and choose Enable.
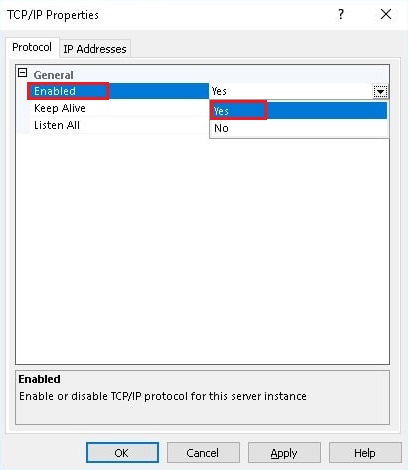
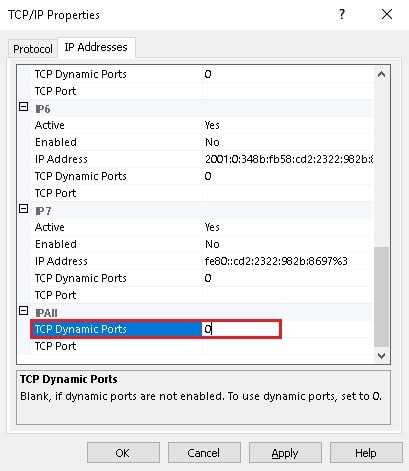
- Double-click TCP/IP, open the IP Addresses tab, and scroll to IPAll.
- Make sure TCP Port shows 1433. A port is like a numbered door on the server. 1433 is the usual door for SQL Server.
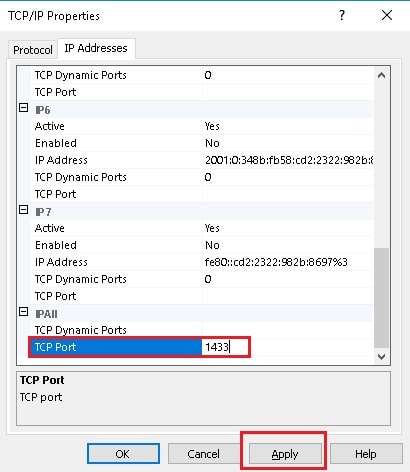
- Click OK.
Part 2: Allow remote connections in SSMS
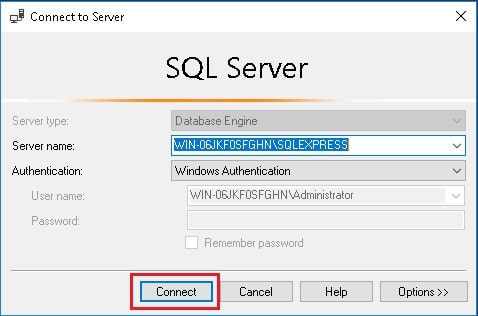
- Open SSMS and connect to the server.
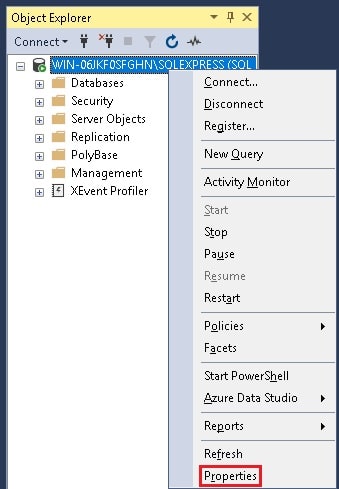
- Right-click the server name and choose Properties.
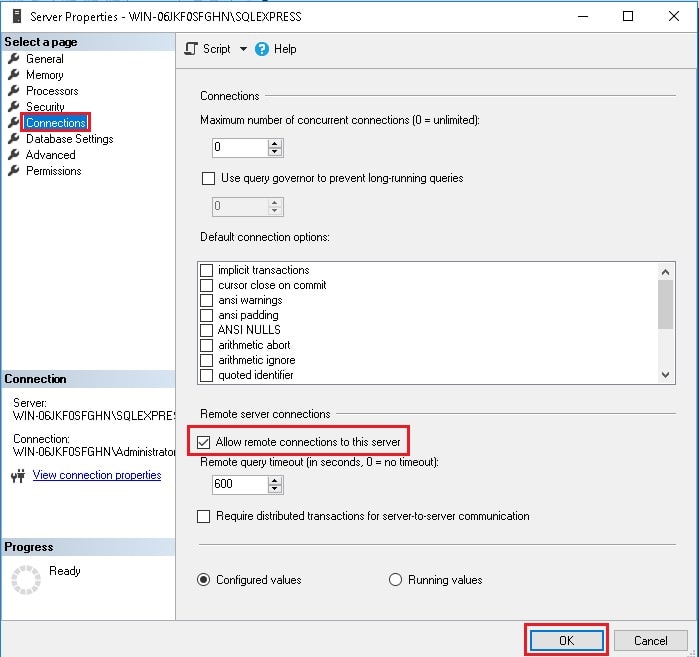
- Click Connections.
- Tick Allow remote connections to this server.
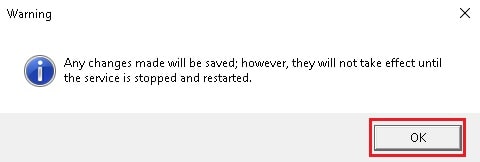
- Click OK.
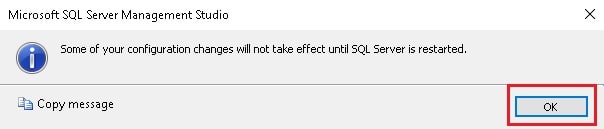
- Right-click the server name again and choose Restart so the changes apply.
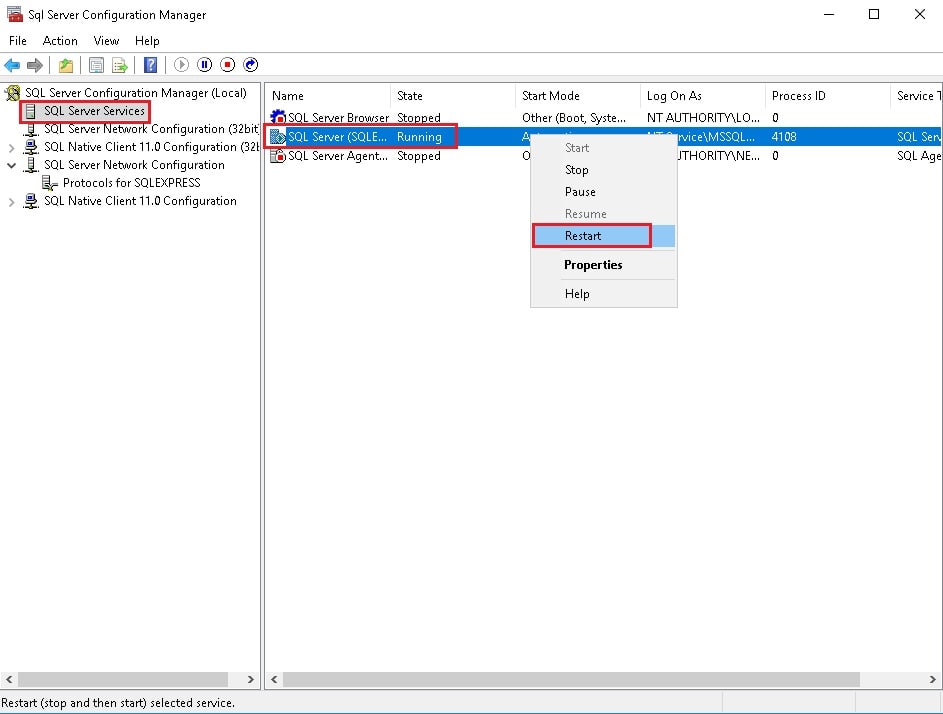
Part 3: Open the firewall
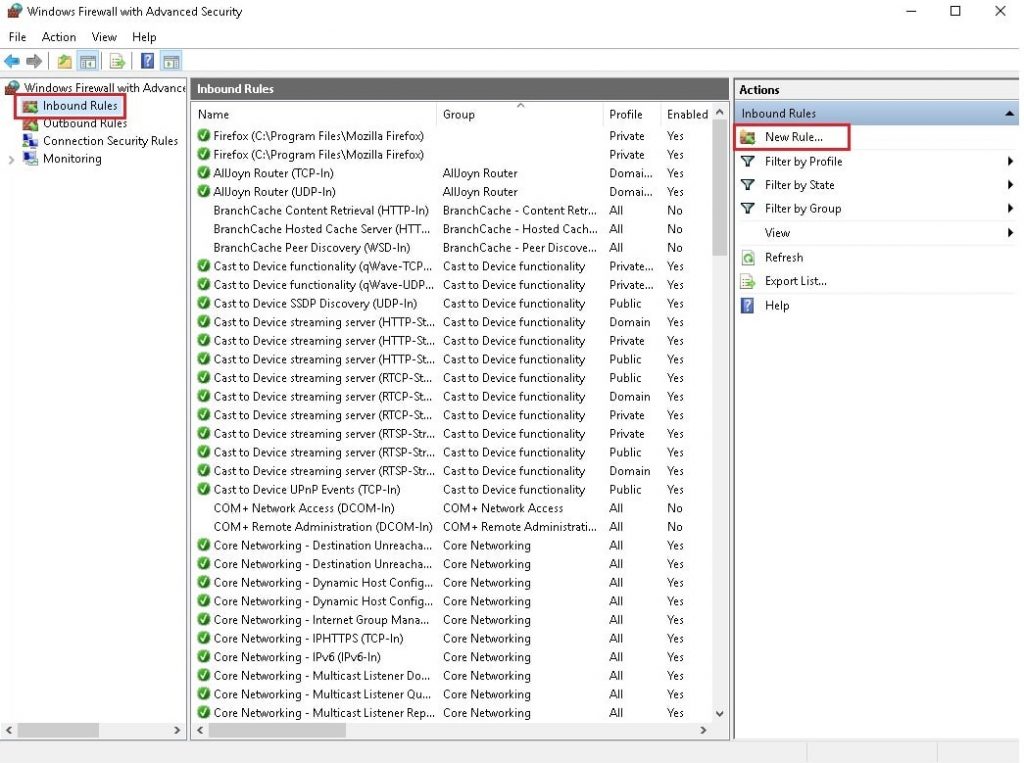
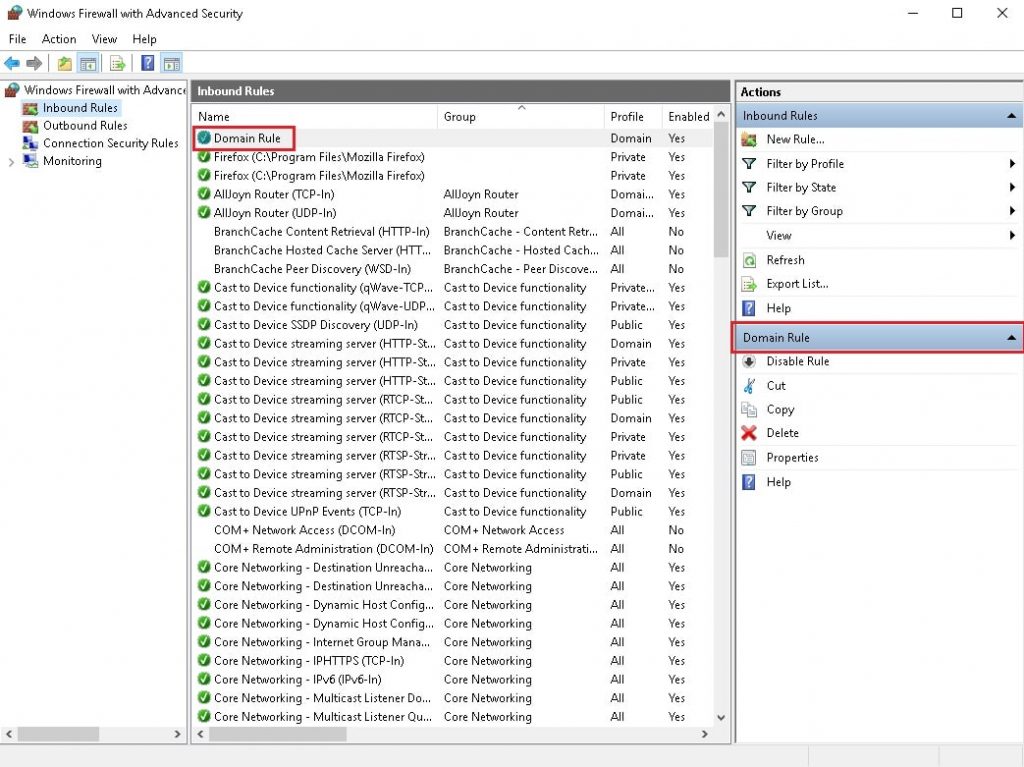
- Open Windows Defender Firewall with Advanced Security.
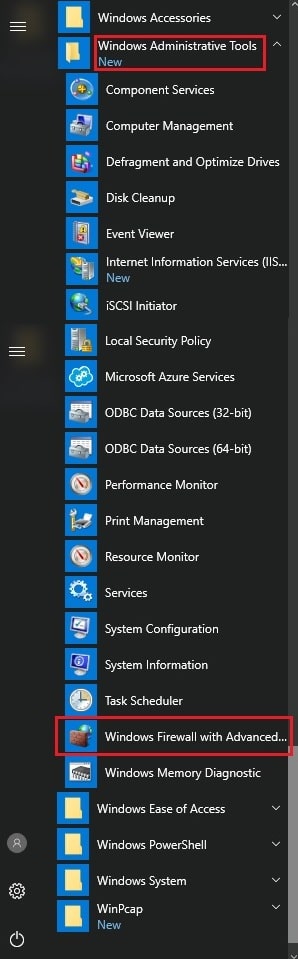
- Click Inbound Rules, then New Rule.
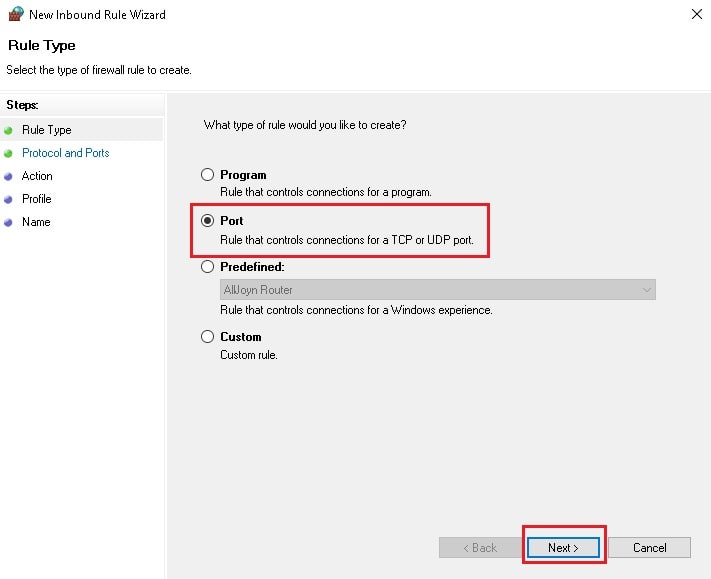
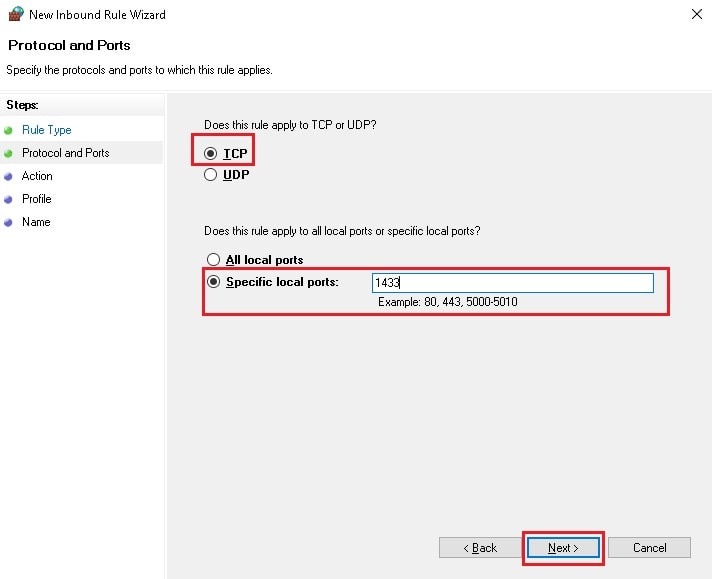
- Choose Port, then TCP, and type 1433.
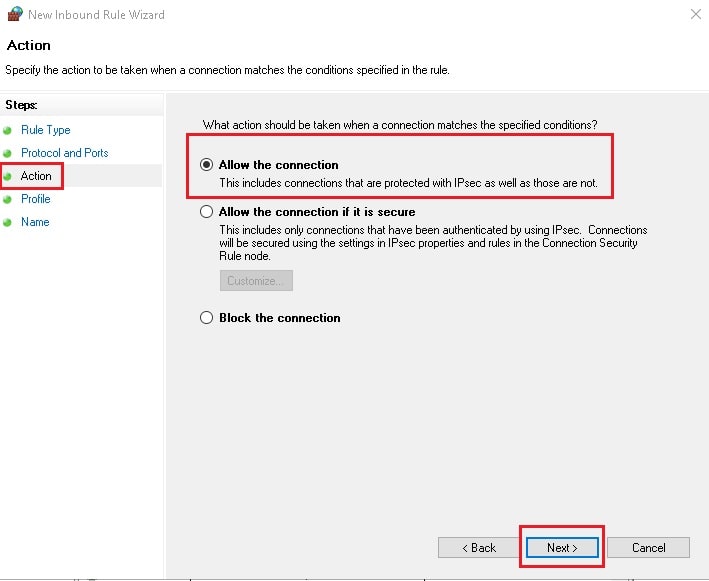
- Choose Allow the connection.
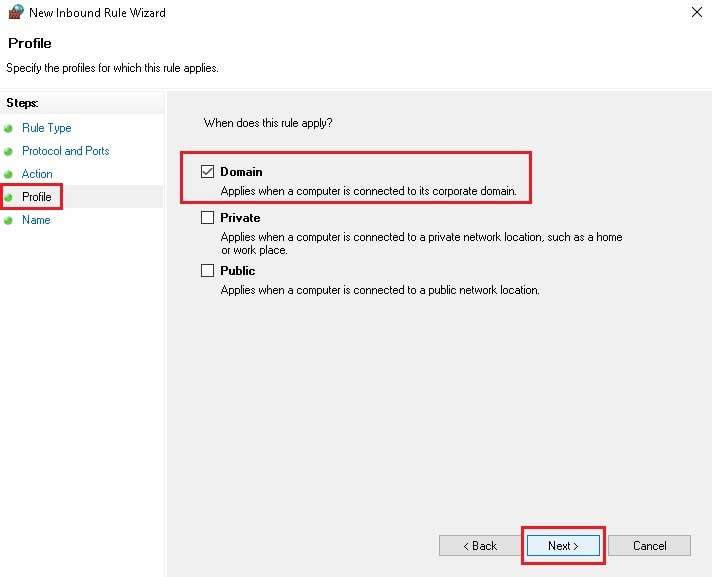
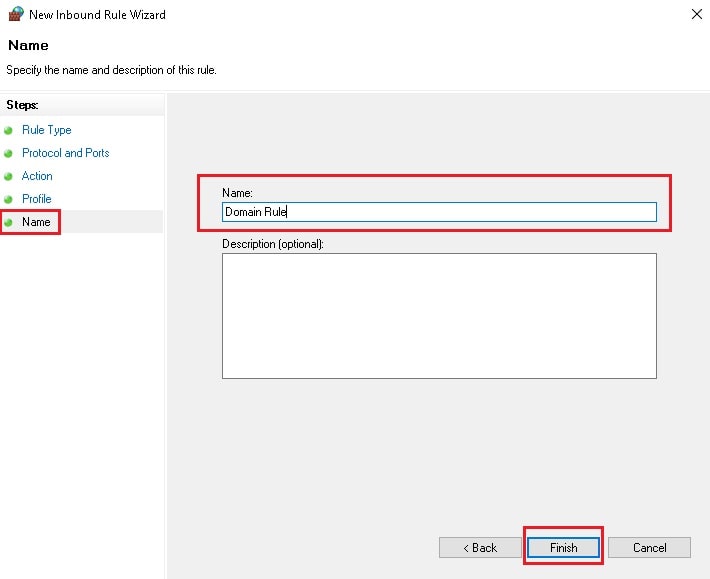
- Give the rule a name such as SQL Server and click Finish.
Part 4: Connect from another computer
- Open SSMS on your own computer.
- For Server name, type the server IP address, a comma, and the port. Example:
203.0.113.10,1433. - Choose SQL Server Authentication.
- Type your login and password and click Connect.
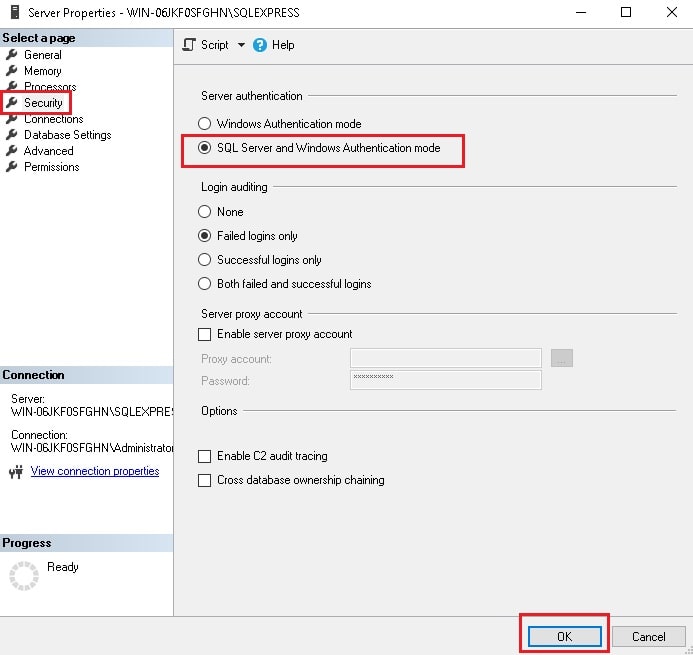
SQL Server Authentication must be switched on in the server properties under Security. Find your server IP in your welcome email or ask Hostvento support.
Quick recap
- Enable TCP/IP in Configuration Manager and check port 1433.
- Tick Allow remote connections in the server properties and restart.
- Open port 1433 in the firewall.
- Connect from SSMS with IP, comma, port.