

What is the sa user?
SQL Server is a program that keeps data in tables. The sa login is its built-in administrator, short for "system administrator". It can do anything. It stays disabled when SQL Server uses only Windows logins. To use it, you must switch on a mode that allows SQL logins and then enable the account.
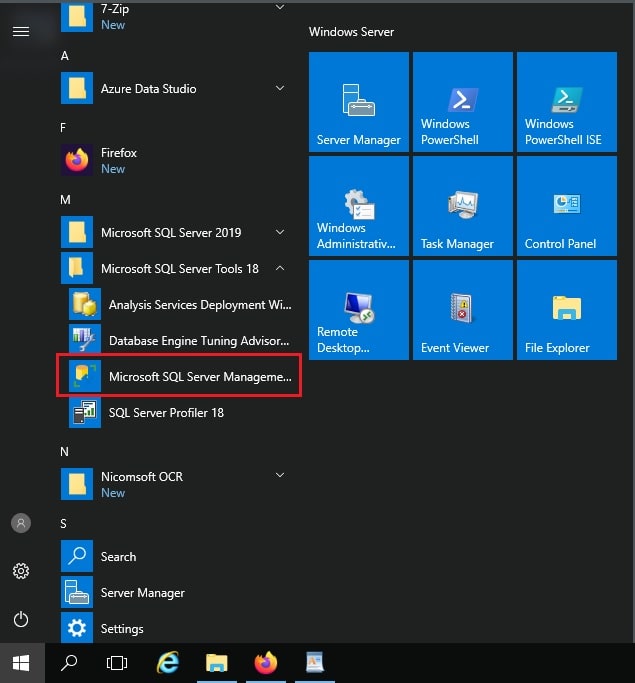
SSMS (SQL Server Management Studio) is the window-based tool we use here.
Warning: The sa account is a common target for attackers. Use a very strong password. Only enable it if you really need it. Take a backup before changing server settings.
Step 1: Allow SQL Server logins
- Open SSMS and connect with Windows Authentication.
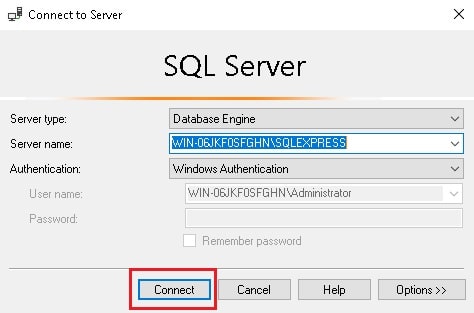
- Right-click the server name at the top of the left panel.
- Click Properties.
- Click Security in the left list.
- Under Server authentication, choose SQL Server and Windows Authentication mode. This is also called mixed mode.
- Click OK. A message says you must restart the service. Click OK again.
Step 2: Set a password and enable sa
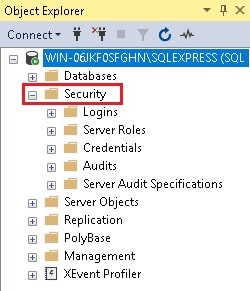
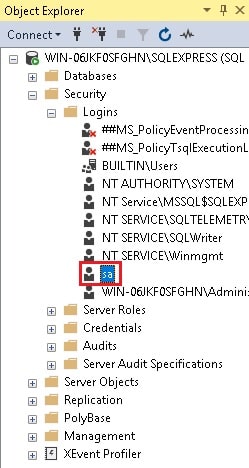
- In the left panel, expand Security, then Logins.
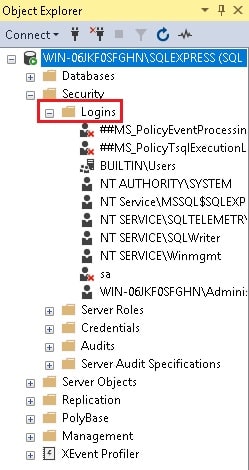
- Right-click sa and choose Properties.
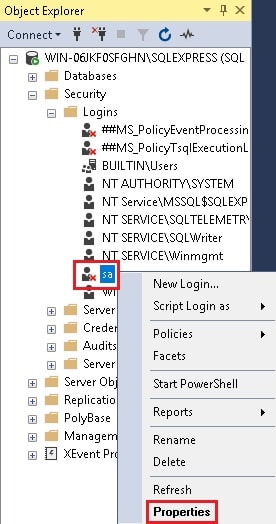
- On the General page, type a strong password twice.
- Click Status in the left list.
- Under Login, choose Enabled.
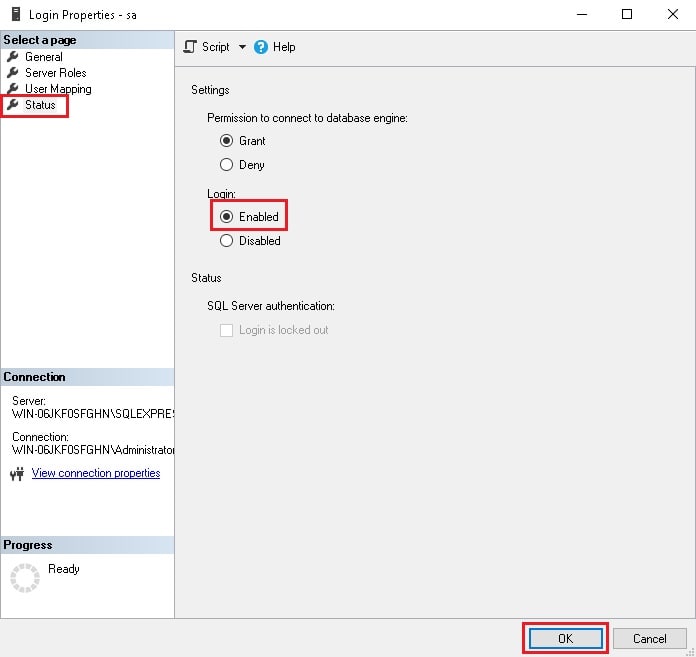
- Under Permission to connect to database engine, choose Grant.
- Click OK.
Step 3: Restart SQL Server
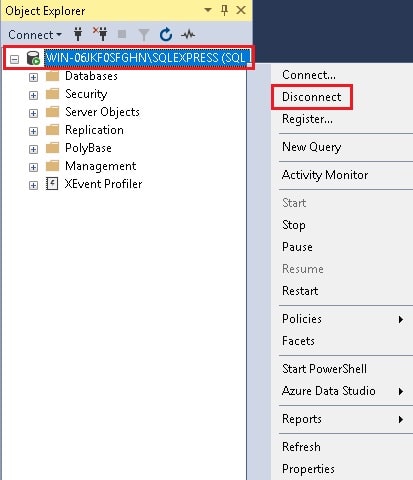
- Right-click the server name in SSMS.
- Click Restart and confirm.
- Wait until the server is back.
Restarting stops the database for a moment. Websites that use it will lose their connection for a short time. Choose a quiet time.
Use a query instead
Click New Query, paste this and press F5:
ALTER LOGIN sa ENABLE;
ALTER LOGIN sa WITH PASSWORD = 'YourStrongPassword';
The first line turns the login on. The second sets its password. You still need mixed mode and a restart.
Test the login
- Click File, then Connect Object Explorer.
- Choose SQL Server Authentication.
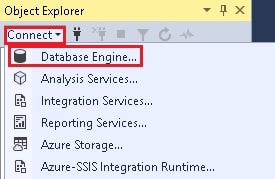
- Type
saand the password, then click Connect.
Quick recap
- Switch the server to mixed mode in Properties, then Security.
- Set a strong password for sa and set its status to Enabled.
- Restart SQL Server.
- Test the login and keep the password private.