

What is IIS?
IIS stands for Internet Information Services. It is the web server program from Microsoft. A web server program sends web pages to visitors when they type your address. If your server has no IIS, it cannot show a website. You need admin rights on the server.
Part 1: Install IIS
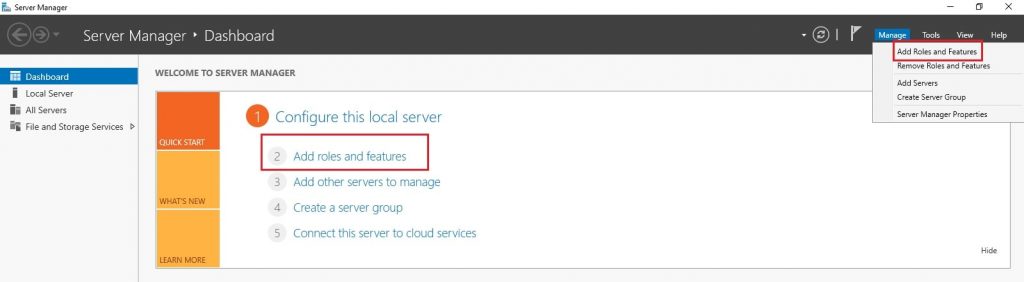
- Open Server Manager.
- Click Manage, then Add Roles and Features.
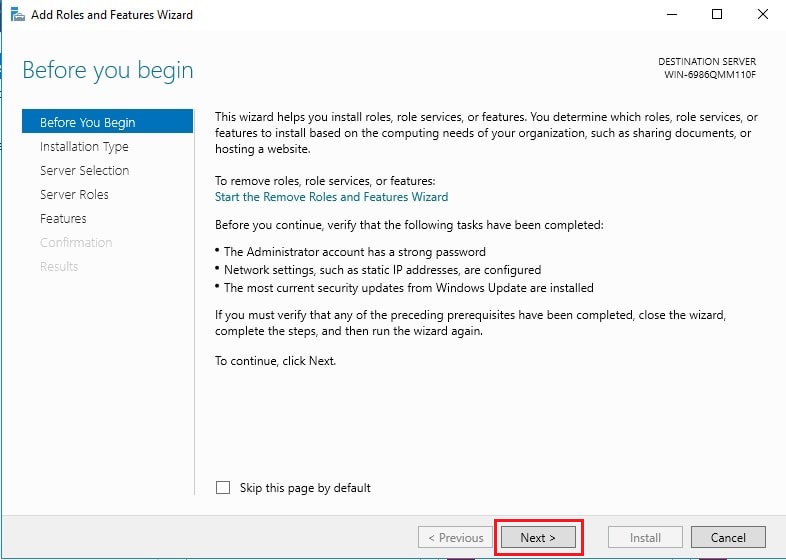
- Click Next on the first page.
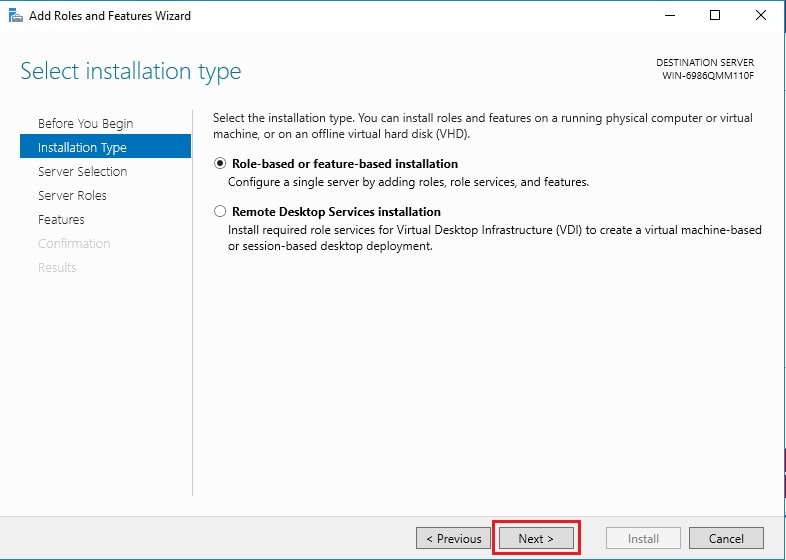
- Choose Role-based or feature-based installation and click Next.
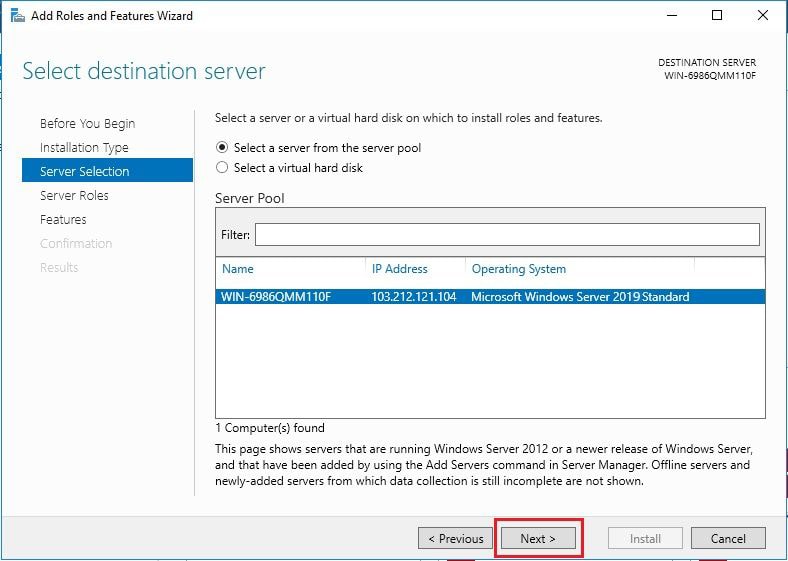
- Pick your server from the list and click Next.
- Tick Web Server (IIS).
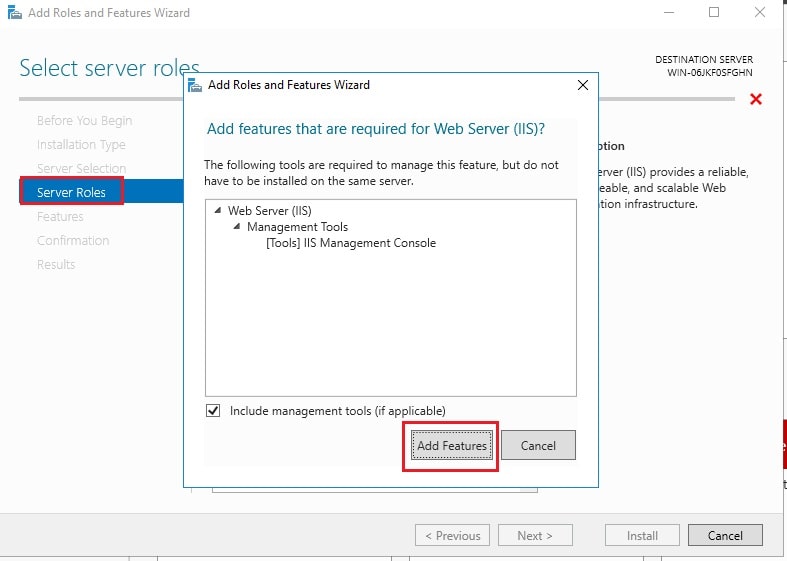
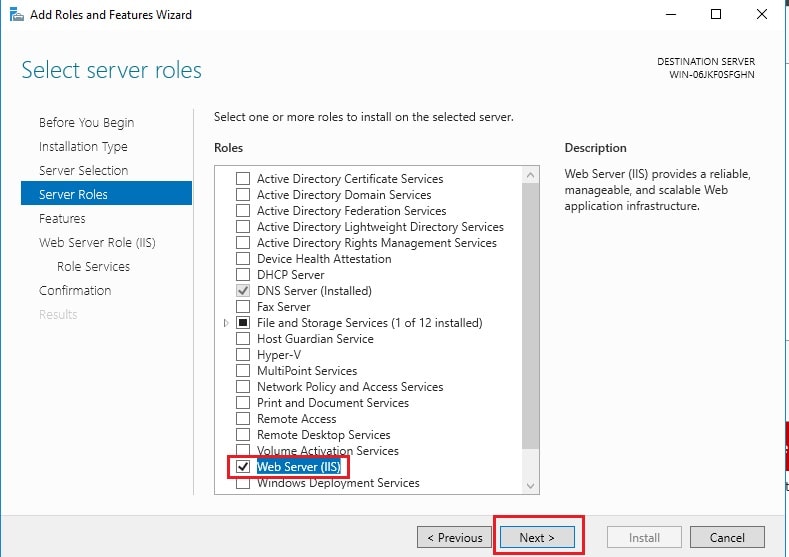
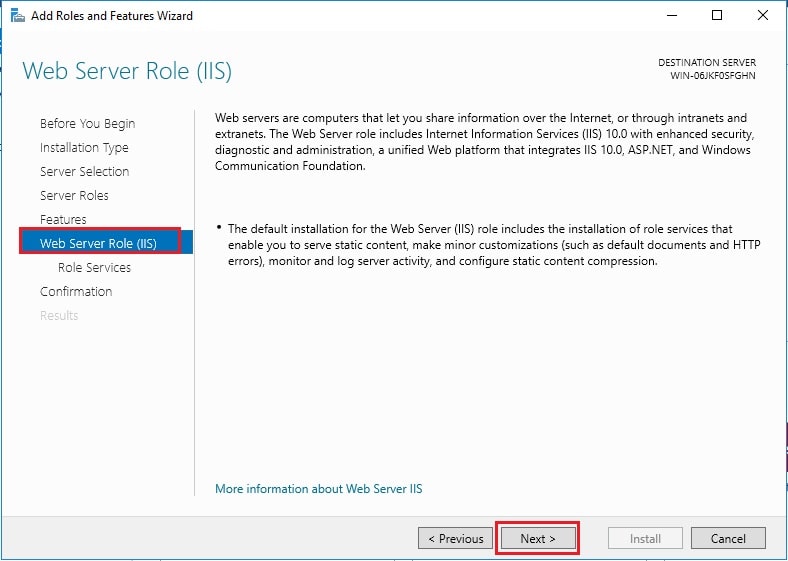
- Click Add Features when a box appears.
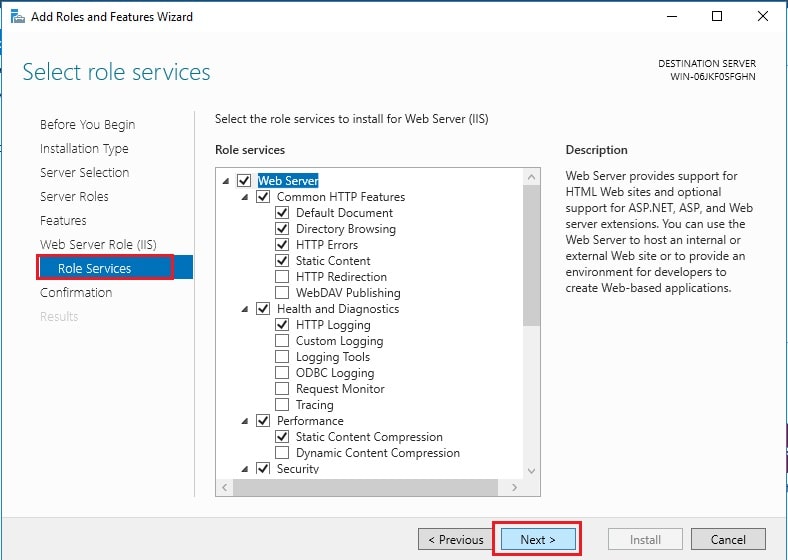
- Click Next through the Features page. Add any you need, such as ASP.NET under Application Development.
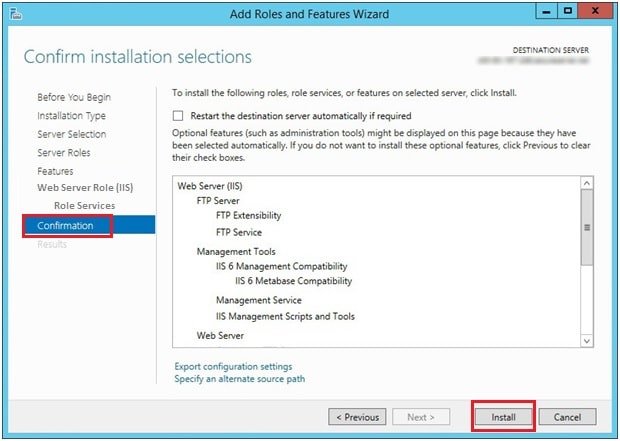
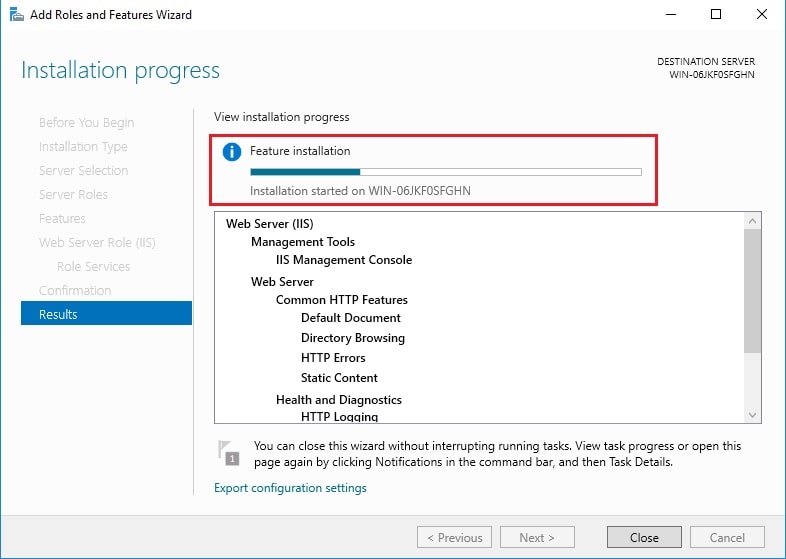
- Click Next and then Install.
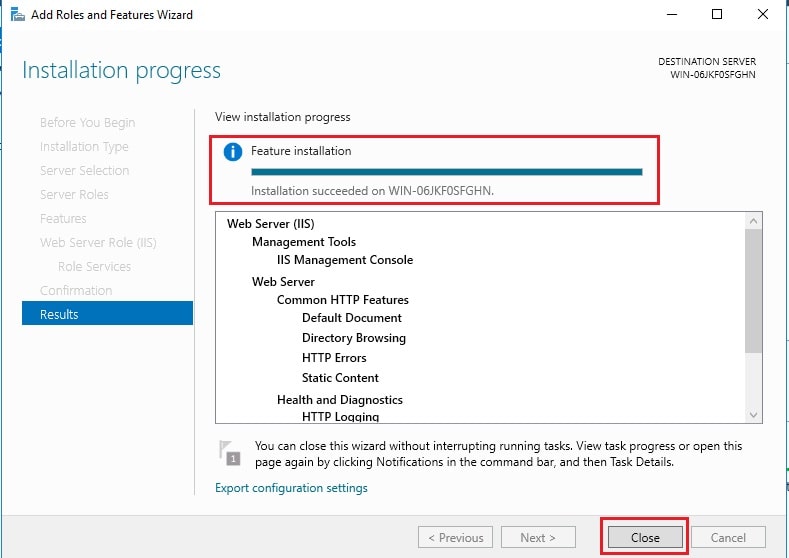
- Click Close when finished.
Part 2: Check that it works
- Open a browser on the server.
- Type
http://localhostand press Enter. - You should see the blue IIS welcome page.
Part 3: Add your own website
- Create a folder for your site, such as
C:\inetpub\mysite. - Put an
index.htmlfile inside it. - Open IIS Manager from Tools in Server Manager.
- In the left panel, right-click Sites and choose Add Website.
- Type a Site name.
- For Physical path, browse to your folder.
- Under Binding, keep http and port 80. In Host name, type your domain, for example
www.example.com. - Click OK.
If the Default Web Site is already using port 80 with no host name, either give your site a host name or stop the default site first.
Part 4: Open the firewall
The firewall is a guard that decides what traffic is allowed. Windows allows web traffic when IIS is installed. If visitors cannot reach the site, check that ports 80 and 443 are open in Windows Defender Firewall. Also ask Hostvento support whether a network firewall is in front of your server.
Part 5: Point your domain
In the DNS settings of your domain, add an A record that points to your server IP. DNS is like a phone book that links your domain name to the IP. Changes can take some hours to show.
Useful tips
- Each site should have its own application pool, a work area for the site.
- Give the site folder the right permissions to
IIS_IUSRS. - Use
iisresetin an admin Command Prompt to restart IIS.
Quick recap
- IIS is Microsoft's web server program.
- Install it from Add Roles and Features.
- Test with
http://localhost. - Add a website, open the firewall and point your domain.