

What is a DNS server?
DNS is like a phone book for the internet. It turns a name like example.com into a number, called an IP address. A DNS server is a computer that holds that phone book and answers questions. A zone is one page of the book. It holds all records for one domain. You need admin rights on the server. The server should have a fixed IP address.
Part 1: Install the role
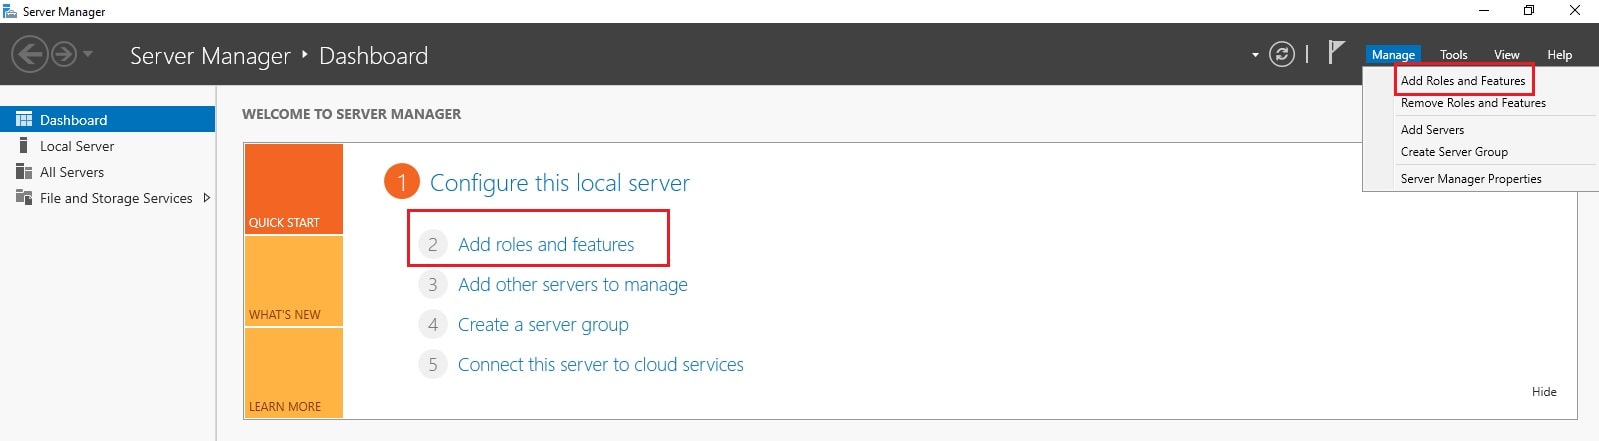
- Open Server Manager.
- Click Manage, then Add Roles and Features.
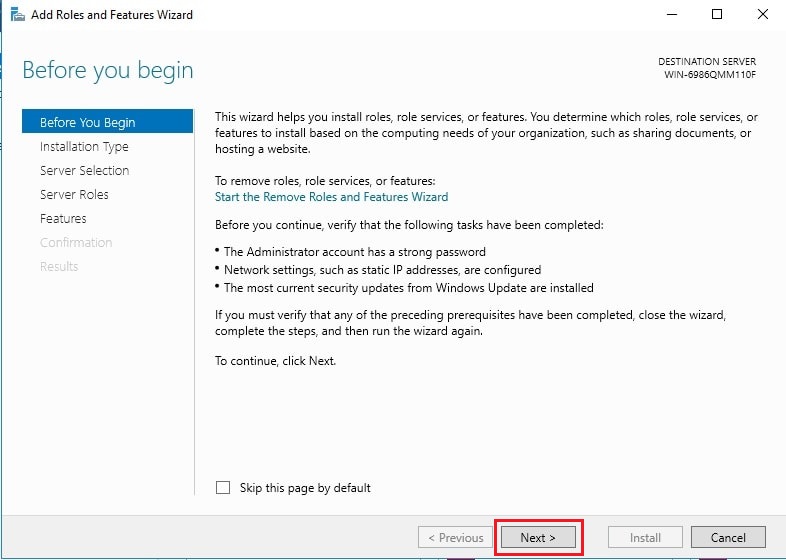
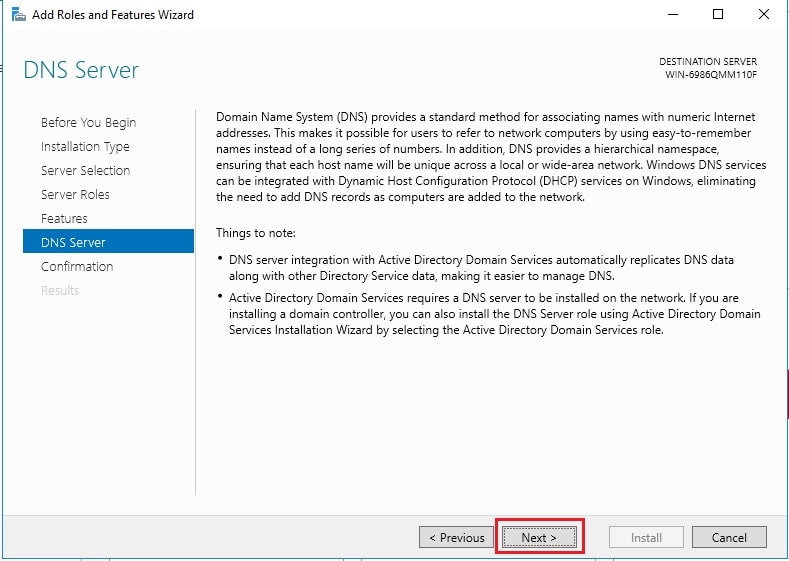
- Click Next on the first page.
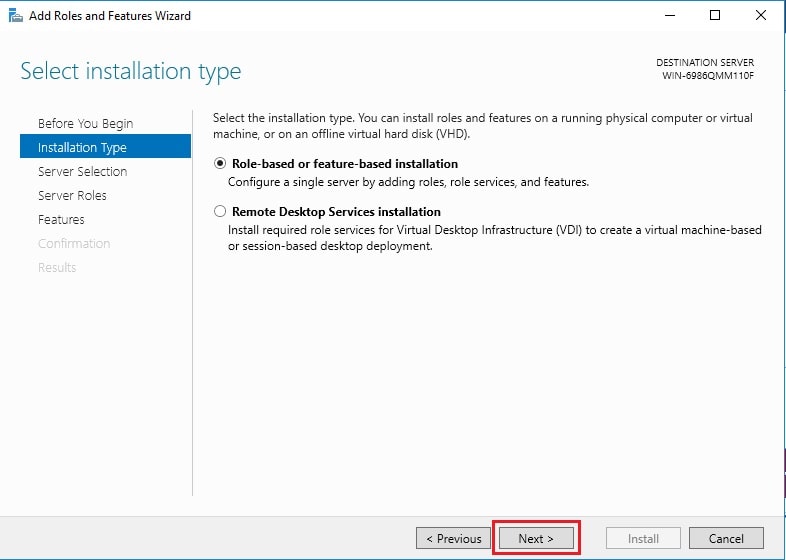
- Choose Role-based or feature-based installation and click Next.
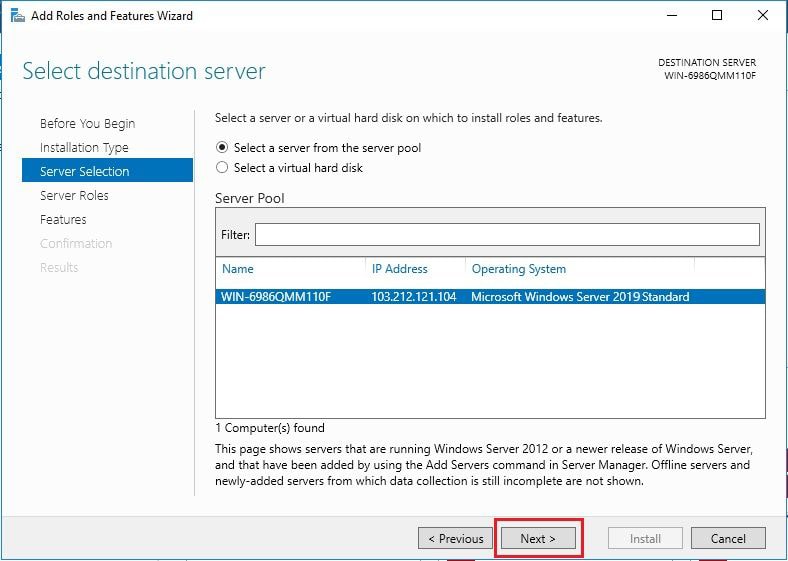
- Select your server and click Next.
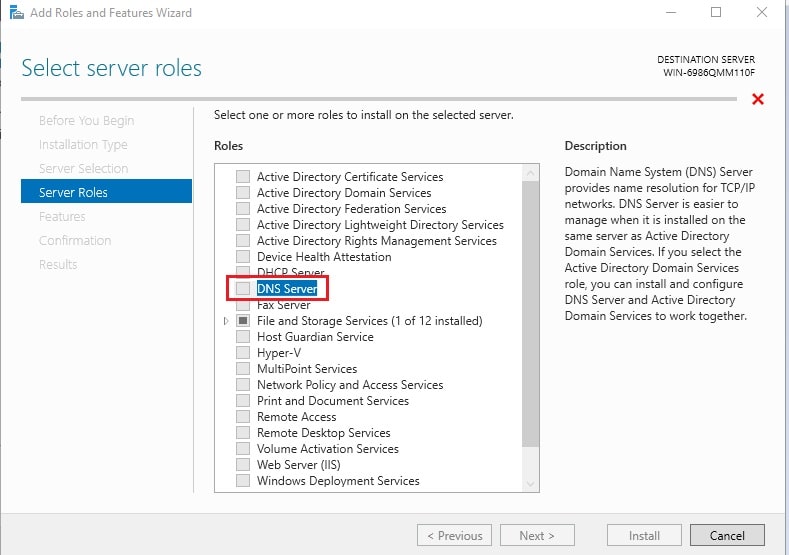
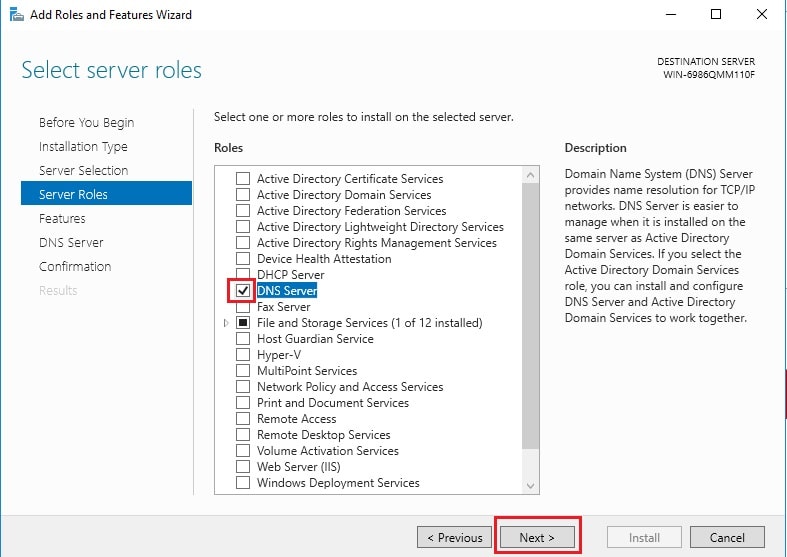
- Tick DNS Server.
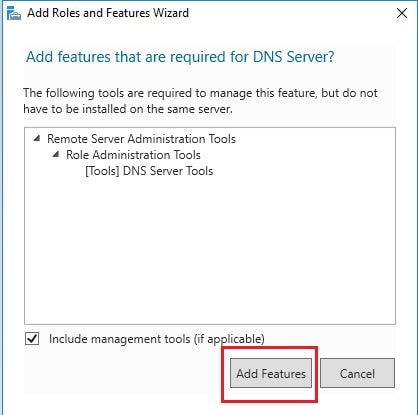
- Click Add Features in the pop-up box.
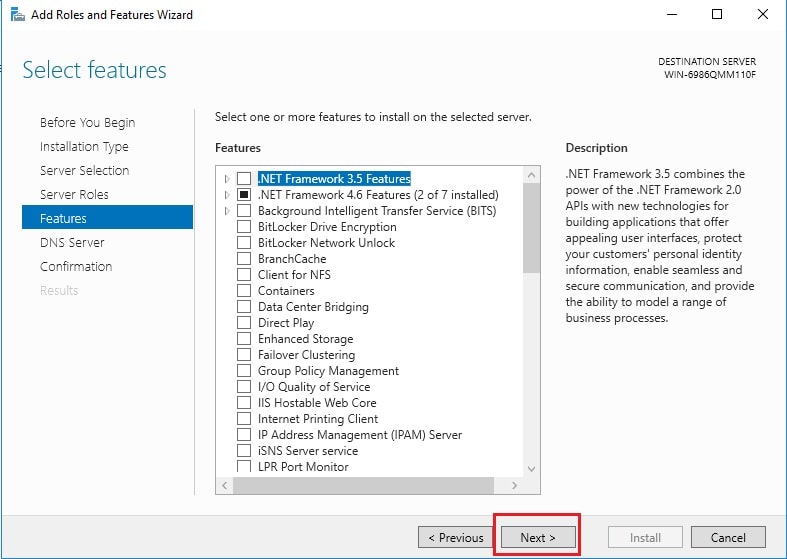
- Click Next until the Confirmation page.
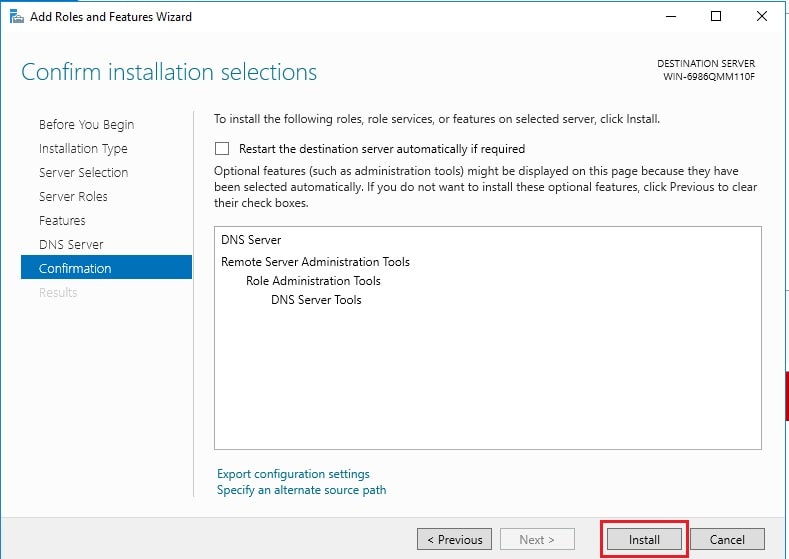
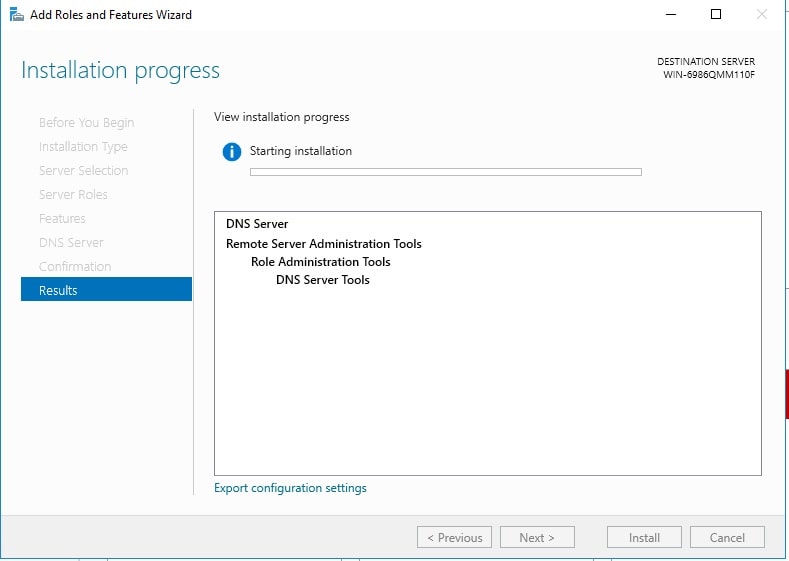
- Click Install.
- Click Close when it is done.
You can also use PowerShell, a command window with extra tools:
Install-WindowsFeature DNS -IncludeManagementToolsThis command installs the DNS role and its management tool.
Part 2: Create a forward lookup zone
A forward lookup zone turns names into IP addresses.
- In Server Manager, click Tools, then DNS.
- Expand your server name in the left panel.
- Right-click Forward Lookup Zones and choose New Zone.
- Click Next on the welcome page.
- Choose Primary zone and click Next.
- Type your domain name, for example
example.com, and click Next. - Choose Create a new file and click Next.
- Choose Do not allow dynamic updates unless you know you need them, and click Next.
- Click Finish.
Part 3: Add a record
- Right-click your new zone and choose New Host (A or AAAA).
- Type the name, for example
www. - Type the IP address.
- Click Add Host, then Done.
Part 4: Allow DNS through the firewall
DNS uses port 53. A port is a numbered door on the server. The DNS role usually opens it for you. Check Windows Defender Firewall if outside computers cannot reach it.
Part 5: Test it
nslookup www.example.com 127.0.0.1This asks your own server for the address of www.example.com. You should see the IP you added.
Quick recap
- A DNS server answers name-to-number questions.
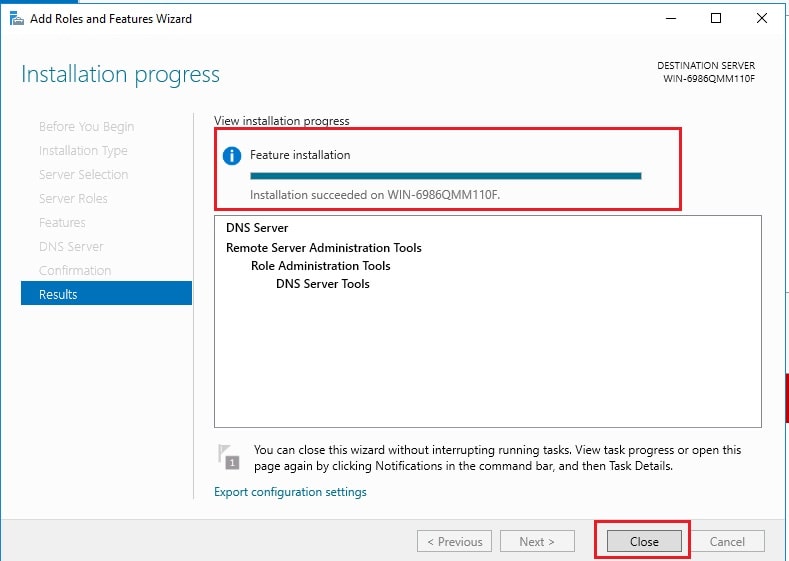
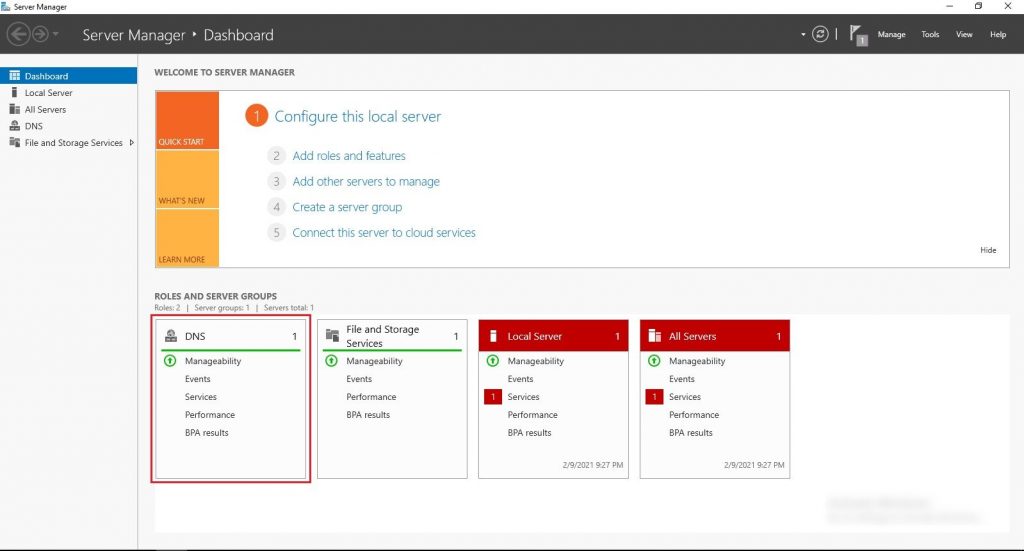
- Install the role in Add Roles and Features.
- Create a zone and add records in the DNS tool.
- Test with
nslookup.