

What do you need first?
You need an FTP site already running in IIS. IIS (Internet Information Services) is the Windows tool that serves FTP. If you have not set one up yet, do that first. You also need an administrator account, which is an account allowed to change system settings.
The idea is simple. Each FTP user is a normal Windows user. You make one Windows user per person. Then you give each person a folder and permission to use it.
Steps
Part 1: Create the users
- Right-click the Start button and choose Computer Management.
- On the left, open Local Users and Groups, then click Users.
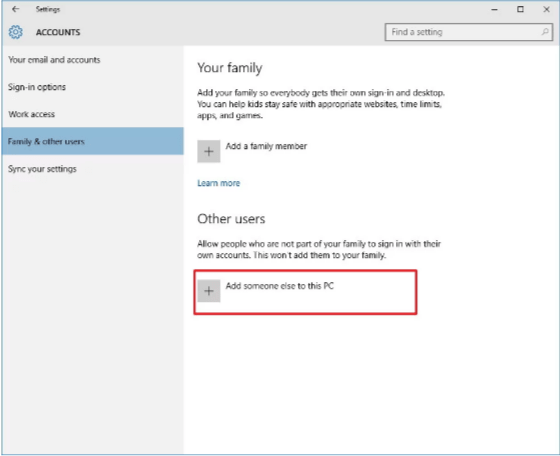
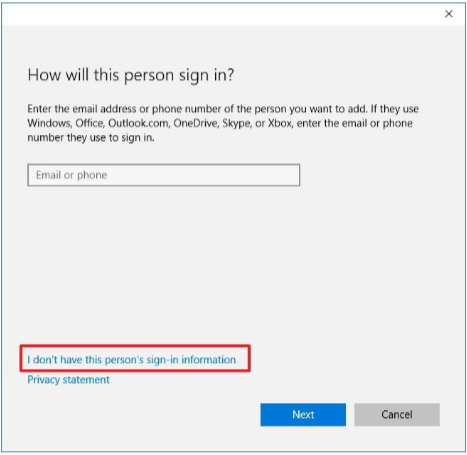
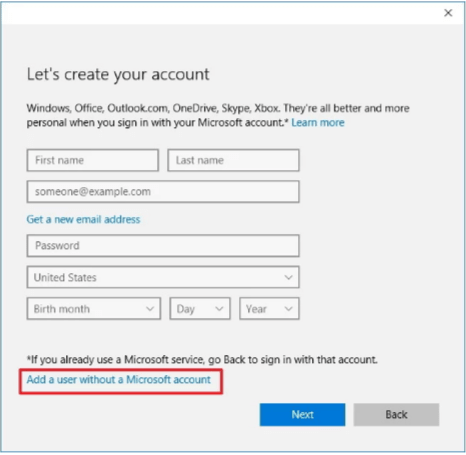
- Right-click an empty space and choose New User.
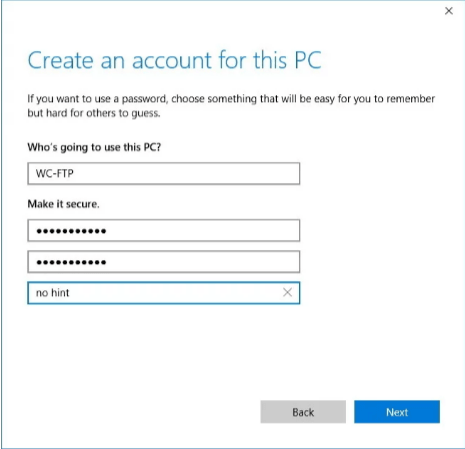
- Type a username and a strong password. A strong password is long and mixes letters, numbers and symbols.
- Untick User must change password at next logon. Tick Password never expires.
- Click Create. Repeat for each person, then click Close.
Part 2: Give each user a folder
- Inside your main FTP folder, make one subfolder per user, such as
C:\FTPShare\annaandC:\FTPShare\ben. - Right-click a user folder and choose Properties, then the Security tab.
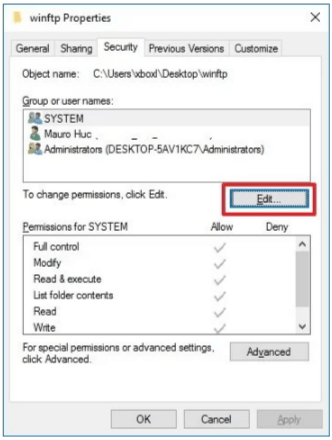
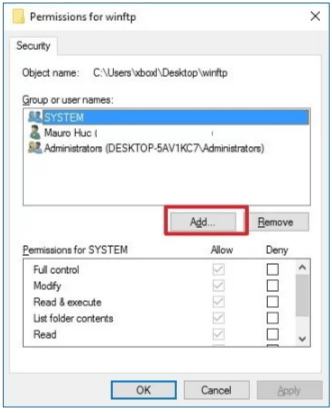
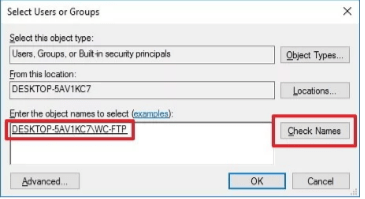
- Click Edit, then Add. Type the username and click OK.
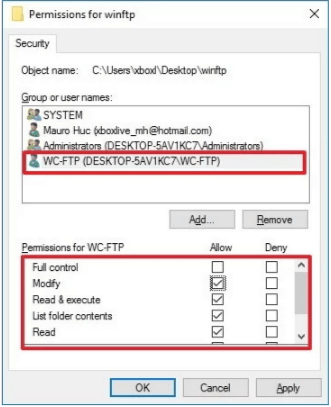
- Tick Modify to let the user read and change files. Click OK.
- Repeat for every user and folder.
Part 3: Allow the users in IIS
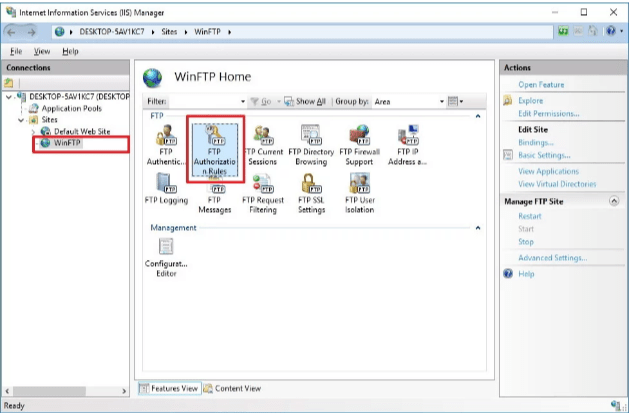
- Open IIS Manager and click your FTP site.
- Double-click FTP Authorization Rules.
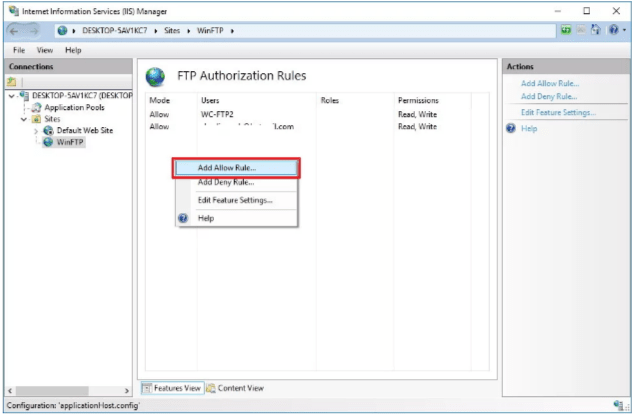
- Click Add Allow Rule on the right.
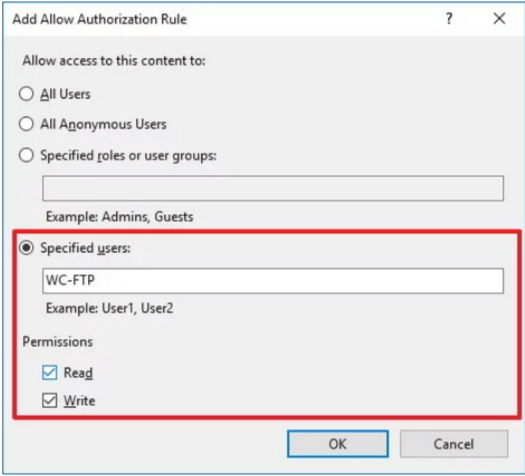
- Choose Specified users and type the usernames, separated by commas.
- Tick Read and Write as needed. Click OK.
Part 4: Keep each user in their own folder
By default, a user lands in the main folder. To lock a user into their own folder, use user isolation. It works like giving each guest a key to one room only.
- In IIS Manager, click your FTP site and double-click FTP User Isolation.
- Choose User name directory (disable global virtual directories).
- Click Apply.
With this option, IIS looks for a folder named after the user inside the FTP root. That is why the folder names in Part 2 must match the usernames exactly.
Part 5: Test
- Open File Explorer and type
ftp://localhost. - Log in as one user. You should only see that user's files.
Tip: Windows 10 is old, but newer Windows versions work in a very similar way. Never share one login between many people. Separate logins let you remove one person without affecting the others.
Quick recap
- Each FTP user is a Windows user. Create them in Computer Management.
- Make a folder per user and give that user Modify permission.
- Add an allow rule in FTP Authorization Rules.
- Use FTP User Isolation so each person sees only their own folder.